How To Use A Massage Gun On Legs: Safe, Effective Tips
Use a massage gun on your legs with light pressure, slow passes, and short sessions on relaxed muscles.
Learning how to use a massage gun on legs can help warm up tight muscles, ease post-workout soreness, and improve how your legs feel after a long day. The key is knowing where to use it, how much pressure to apply, and which areas to avoid. This guide shares safe steps, practical tips, common mistakes, and advice based on sports recovery research and hands-on use.
What a Massage Gun Does for Your Legs
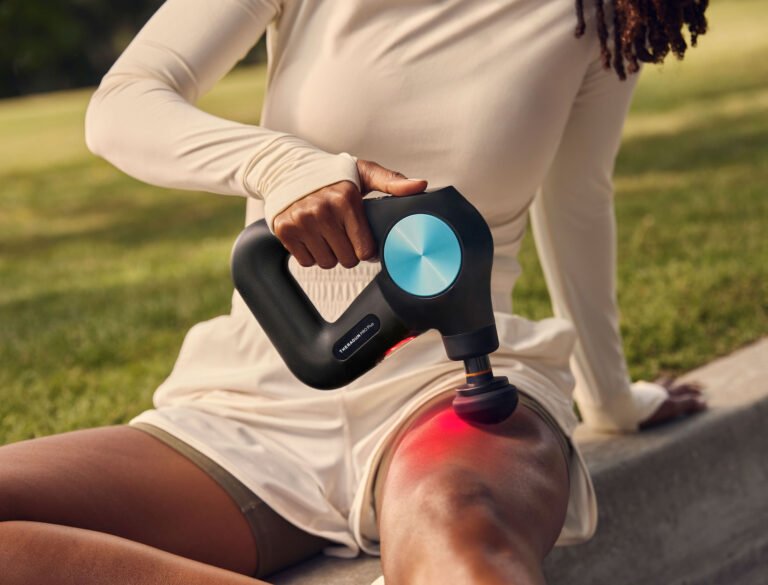
A massage gun is a handheld device that uses quick pulses to move a soft attachment over the skin and muscles. This action is called percussive therapy. It may help increase local blood flow, reduce the feeling of muscle tightness, and improve short-term range of motion.
When learning how to use a massage gun on legs, think of it as a tool for muscle comfort, not a cure. It does not repair a torn muscle, remove a blood clot, or replace medical care. It may help your legs feel looser, but the effect can vary from person to person.
Research on percussive therapy suggests that massage guns may support short-term flexibility and reduce the feeling of soreness after exercise. However, studies are still limited, and results depend on the device, pressure, timing, and condition of the muscle.
The device works best on large, fleshy muscle groups, such as:
• Quadriceps at the front of the thigh
• Hamstrings at the back of the thigh
• Calves at the back of the lower leg
• Glutes and outer hip muscles
• Muscles along the inner thigh, with extra care
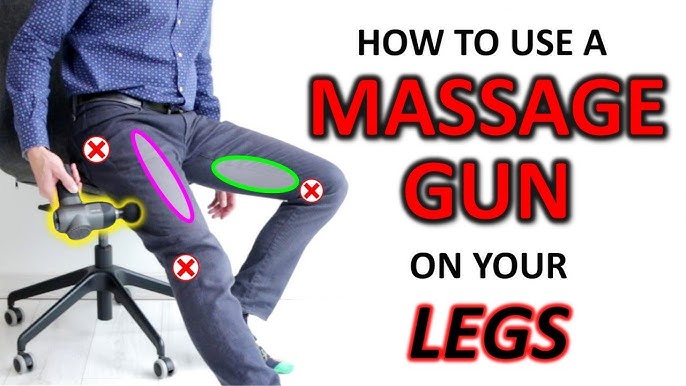
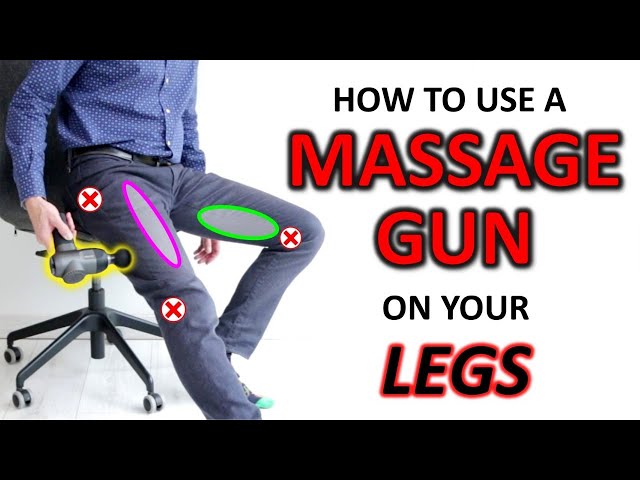
Avoid treating bones, joints, the front of the neck, the spine, and areas with sharp pain.
:max_bytes(150000):strip_icc()/massage-gun-GettyImages-1299523667-2000-887c164d406e43089bbaeb85840dccae.jpg)
Before You Use a Massage Gun on Legs
A few simple checks can make your session safer and more useful. Start by choosing a quiet place where you can sit or lie down. Your muscles should be relaxed, not tense as you try to balance.
Drink water as you normally would, but do not force large amounts before or after using the device. Hydration supports normal body function, yet water does not “flush out” muscle toxins. That common claim is not well supported by evidence.
Inspect your legs before starting. Do not use a massage gun over:
• Open cuts, rashes, burns, or skin infections
• New bruises or swollen areas
• Varicose veins that are painful or raised
• A suspected sprain, strain, or muscle tear
• Areas that feel hot, numb, or unusually weak
• Any spot with sudden or severe pain
If you take blood thinners, have a bleeding disorder, have diabetes with reduced sensation, or have poor circulation, ask a health professional first. The same applies if you are pregnant or recovering from surgery.
Choose the right attachment. A large, soft ball head is often a good starting point for the thighs and calves. A flat head may suit broad muscle areas. Avoid using a pointed head on your legs unless a qualified professional has shown you how to use it.
How to Use a Massage Gun on Legs: Step-by-Step
Follow these steps for a simple massage gun leg routine. The aim is to stimulate the muscle gently. It should feel soothing, not painful.
1. Start at the lowest speed
Turn the massage gun on its lowest setting before placing it on your skin. Starting slowly helps you learn how your body reacts.
Place the device on the muscle before increasing the speed. Do not press hard to make the massage feel stronger. More force does not always mean better results.
2. Begin with a broad muscle area
Start with the quadriceps or hamstrings. Move the massage gun slowly over the muscle at about one inch per second.
Keep the device moving. Do not hold it over one spot for a long time. A gentle sweep helps spread the pressure and lowers the chance of irritation.
3. Use light to moderate pressure
Let the massage gun do most of the work. You should feel vibration and mild pressure, but not sharp pain, tingling, or numbness.
A useful comfort scale is zero to ten. Keep the sensation around three or four. If you need to tense your face, hold your breath, or pull away, reduce the pressure.
4. Spend about 30 seconds on each area
Move across one muscle group for 30 seconds. You can slowly repeat the pass once or twice if it feels good.
For larger areas, such as the thighs, divide the muscle into sections. Treat the upper, middle, and lower parts instead of pressing in one place for several minutes.
5. Finish with slow, gentle passes
Lower the speed at the end of the session. Take a few relaxed passes over the muscle, then stop.
Stand and walk normally for a moment. Your legs should feel warm or relaxed. They should not feel bruised, weak, or more painful.
A full leg session usually takes about five to ten minutes. Beginners can start with two to five minutes.

How to Use a Massage Gun on Different Leg Muscles
Each leg muscle has a slightly different shape. Good technique means working with the muscle rather than forcing the device into it.
Quadriceps
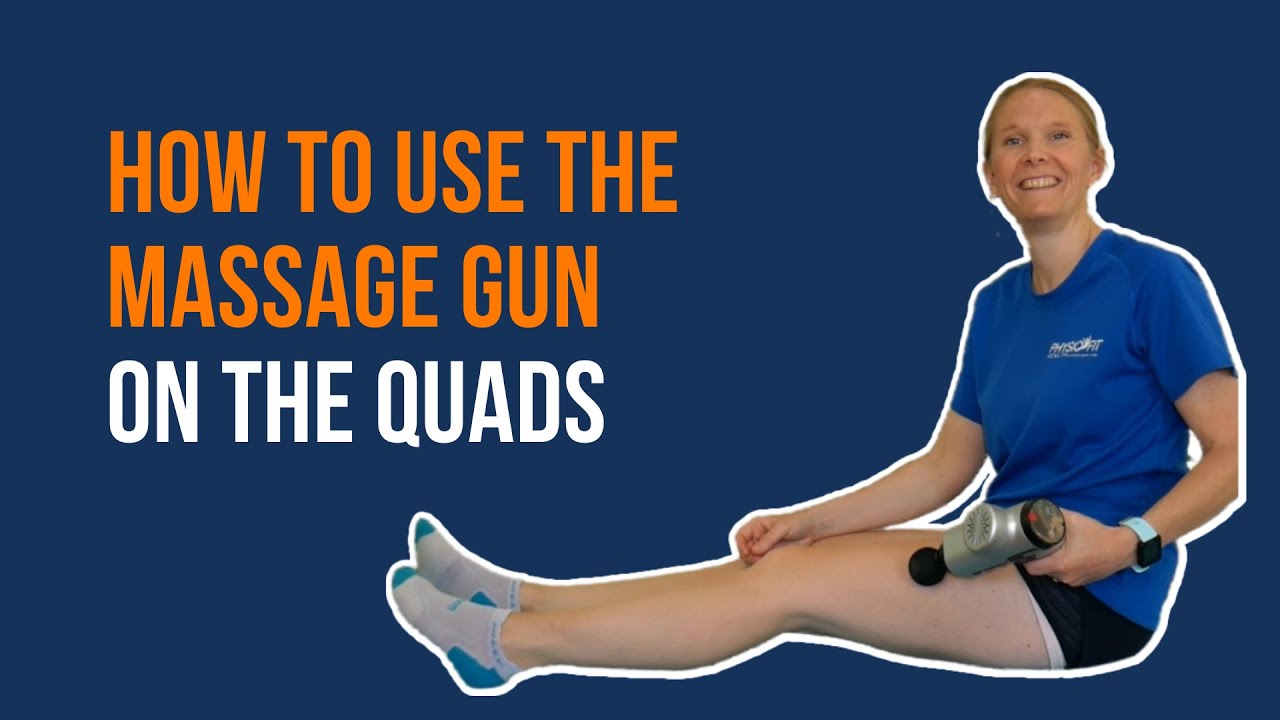
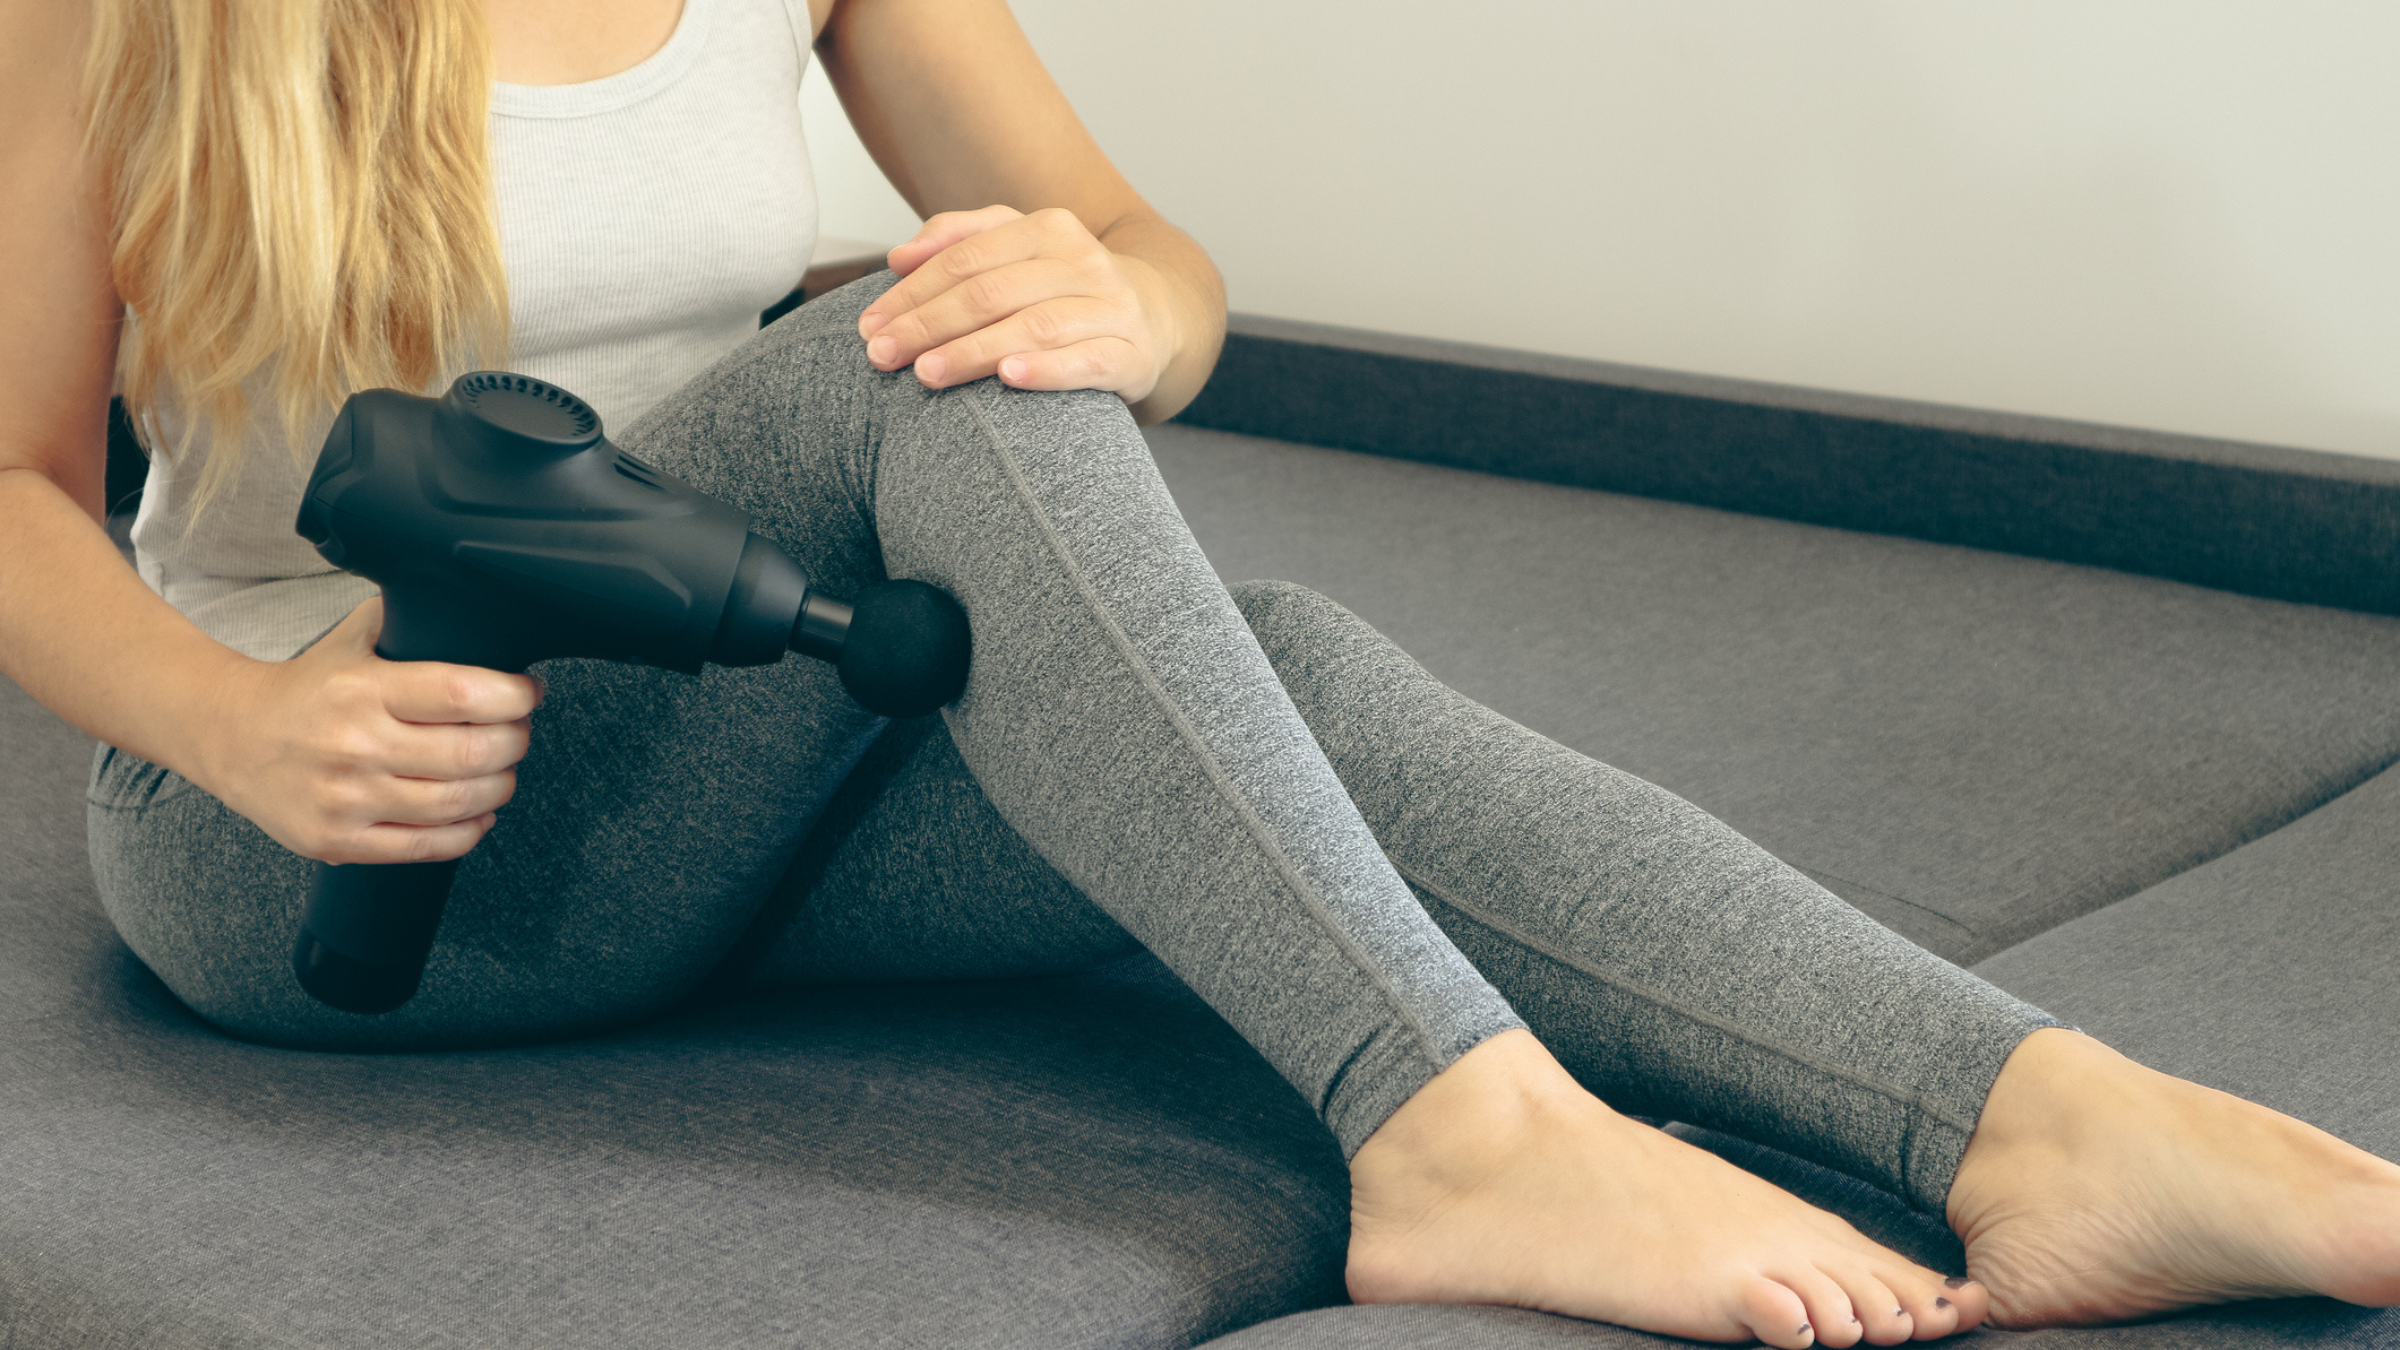
Sit with your leg supported or lie down with the knee relaxed. Place the massage gun on the front of the thigh, above the kneecap.
Move from the upper thigh toward the knee, but stop before the kneecap. Cover the inner, middle, and outer parts of the quadriceps. Use a soft attachment and light pressure.
The quadriceps are large and often respond well to a massage gun. They may feel tight after running, squats, cycling, or long periods of sitting.
Hamstrings
Sit or lie with the back of your thigh supported. Move the massage gun along the hamstrings from the upper thigh toward the area above the knee.
Do not press into the back of the knee. This area contains important nerves and blood vessels. If the hamstring has a recent injury, skip the massage gun and get advice from a clinician.
Calves
Sit with your foot relaxed and supported. Use the massage gun on the fleshy part of the calf, moving from the lower calf toward the upper calf.
Do not use the device directly behind the knee or over the hard shin bone. Work around the calf rather than pressing deeply into one narrow line.
Stop at once if one calf is suddenly swollen, hot, red, or painful. These signs can have causes that need urgent medical care, including a blood clot.
Glutes and outer hip
The glute muscles are large and can tolerate broad, gentle work. Use the massage gun while sitting or lying on your side.
Avoid the bony point of the hip. Move across the soft muscle near the upper outer buttock. This may help after walking, climbing stairs, or strength training.
Inner thigh
The inner thigh has sensitive structures and major blood vessels. Use very light pressure on the muscle only, and stay away from the groin.
If you feel pulsing, tingling, pain, or unusual sensitivity, stop. There is no need to massage this area deeply.
When to Use a Massage Gun on Legs
Timing can change how a massage gun feels. Many people use it before exercise, after exercise, or on rest days.
Before exercise
Use a massage gun for a short warm-up. Spend about 15 to 30 seconds on each large muscle group.
Move continuously and use a low or medium speed. This may help you feel more mobile before a workout. It should not replace walking, dynamic movements, or a proper warm-up.
After exercise
After training, use the device gently on muscles that feel tired. Keep the session short and avoid aggressive pressure on very sore areas.
A massage gun may reduce the short-term feeling of tightness. It does not guarantee faster muscle repair. Sleep, food, rest, and sensible training still matter more for recovery.
On rest days
A short session may feel pleasant after a long workday or a long trip. It can help you relax muscles that have stayed in one position.
For example, you might use a massage gun on legs after sitting at a desk for eight hours. Walk for a few minutes first, then use light passes on the thighs and calves.

Common Mistakes to Avoid
Many problems come from using too much force or treating the wrong area. Learning how to use a massage gun on legs includes knowing when to stop.
• Pressing hard enough to cause pain: Mild pressure is enough. Pain can make muscles tighten and may irritate tissue.
• Staying on one spot too long: Keep the device moving. Limit each small area to about 15 to 30 seconds.
• Using it on a fresh injury: A new strain, sprain, or tear needs assessment. Percussion may worsen swelling or bleeding.
• Treating bones and joints: Move around the kneecap, ankle, shin, and hip bone. These areas do not need direct percussion.
• Using a high setting right away: Start low and increase only if the sensation remains comfortable.
• Ignoring numbness or tingling: These sensations may point to nerve irritation. Stop and reassess.
• Expecting instant healing: A massage gun can support comfort. It cannot fix structural damage or replace rehabilitation.
• Using it when exhausted or unsteady: Sit down so you do not fall while treating your legs.
In my own testing, the most common mistake is rushing. A slow, easy pass over a muscle often feels better than a hard, fast attack. I also learned that a session can feel good at the time but still leave tenderness later if the pressure is too high.

Is a Massage Gun Safe for Everyone?
For many healthy adults, a massage gun is generally safe when used on soft muscle with light pressure. Still, it is not suitable for every person or every condition.
Speak with a doctor or physical therapist before use if you have:
• A history of blood clots or deep vein thrombosis
• A bleeding disorder or use blood-thinning medicine
• Severe varicose veins
• Nerve damage or reduced sensation
• Peripheral artery disease or major circulation problems
• Osteoporosis or fragile bones
• Cancer in the treatment area
• A recent operation or medical procedure
• Pregnancy-related health concerns
• A diagnosed muscle, tendon, or joint injury
Seek urgent medical care for one-sided leg swelling, warmth, redness, severe calf pain, chest pain, or trouble breathing. Do not use a massage gun to test or treat these symptoms.
The device can also cause problems when used on areas with reduced feeling. If you cannot clearly feel pressure, you may not notice tissue damage until after the session.
Massage Gun Settings and Attachments for Legs
The best setting is the lowest one that feels useful. Different devices use different speed levels, so there is no single perfect number for everyone.
Use these general guidelines:
• Low speed: Best for beginners, warm-ups, sensitive muscles, and post-workout comfort
• Medium speed: Useful for healthy, large muscle groups when low speed feels too light
• High speed: Use cautiously and briefly, if at all; it is not needed for deep healing
Attachment choice also matters:
• Ball head: A versatile option for thighs, glutes, and calves
• Flat head: Useful for broad, dense muscles
• Soft air cushion: Helpful for sensitive areas and beginners
• Fork head: Use carefully and avoid the spine, bones, and the back of the knee
• Bullet head: Usually too focused for beginners and easy to overuse
Do not chase the strongest sensation. A massage gun should feel like a helpful tool, not a test of toughness.

Massage Gun Versus Stretching and Foam Rolling
A massage gun is one part of a recovery plan. It works differently from stretching and foam rolling.
Stretching lengthens a muscle and may improve flexibility when done consistently. Dynamic movements are often useful before exercise, while gentle static stretches may suit a cool-down.
Foam rolling applies steady pressure over a wider area. It can help you explore tight spots, but it may also feel intense. A massage gun uses rapid pulses and is easier to control in small areas.
You do not need to choose only one method. A simple routine might include:
• Five minutes of walking
• One minute of gentle leg movements
• Three to five minutes with a massage gun
• Easy stretching after the muscles feel warm
If a tool causes pain, stop using it. Recovery should support your training, not become another stress on the body.
A Simple 10-Minute Leg Routine
This routine shows how to use a massage gun on legs without overdoing it. Adjust the time based on your comfort and fitness level.
-
Sit comfortably and check the skin for swelling, bruising, or injury.
-
Use the lowest setting on the right quadriceps for 45 seconds.
-
Move to the right hamstring for 45 seconds.
-
Treat the right calf for 30 seconds, staying on the soft muscle.
-
Repeat the same pattern on the left leg.
-
Return to any broad area that still feels tight for 30 seconds.
-
Walk for one or two minutes and notice how your legs feel.
For a pre-workout routine, keep the pressure light and the time short. For post-workout use, choose a relaxed setting and avoid pressing into muscles that feel sharply painful.
How Often Should You Use a Massage Gun on Legs?
Most people can try a short session once a day on healthy muscles. You may also use it a few times per week based on exercise and comfort.
Avoid treating the same area repeatedly throughout the day. If your legs feel bruised, tender, weak, or more painful, take a break.
A massage gun should improve comfort over time, not hide a problem that keeps returning. Ongoing pain deserves a proper assessment, especially if it affects walking, sleep, strength, or balance.
Keep a simple note of your routine. Record the area, setting, time, and how you feel later that day. This can help you find the amount that works for your body.
Frequently Asked Questions About How to Use a Massage Gun on Legs
Can I use a massage gun on my legs every day?
Many healthy adults can use a massage gun briefly each day on large, uninjured muscles. Use low to moderate pressure and stop if you develop pain, bruising, numbness, or increased soreness.
Should I use a massage gun before or after a workout?
You can use it before exercise for a short, gentle warm-up or after exercise for comfort. It should complement, not replace, walking, dynamic warm-ups, recovery sleep, and proper training.
Can a massage gun help sore calves?
It may reduce the feeling of tightness in healthy, tired calf muscles. Do not use it on a calf that is swollen, hot, red, suddenly painful, or different from the other side.
How long should I use a massage gun on each leg?
Start with two to five minutes per leg. Spend about 30 to 60 seconds on each large muscle group and avoid holding the device on one small spot.
Can I use a massage gun on a pulled muscle?
Avoid using a massage gun on a new or suspected pulled muscle. Wait for a qualified health professional to assess the injury and guide your recovery plan.
Should a massage gun touch the knee?
Do not use a massage gun directly on the kneecap or knee joint. You can gently treat the surrounding quadriceps and hamstrings while staying away from the joint and the back of the knee.
What speed should I use on my legs?
Start with the lowest speed and increase only if the sensation remains comfortable. High speed is not required for effective use and may increase irritation when applied too long.
Conclusion
Knowing how to use a massage gun on legs comes down to simple habits: choose soft muscle, start slowly, keep the device moving, and use light pressure. Treat the quadriceps, hamstrings, calves, glutes, and outer hips with care, but avoid bones, joints, injuries, swelling, and sensitive areas.
A short session can support comfort and mobility, but it is not a cure for serious pain or injury. Listen to your body, stop when something feels wrong, and ask a health professional when symptoms are unusual or persistent. Try the gentle routine above, track how your legs respond, and share your experience or questions in the comments.