How Can I Make Nail Polish Dry Faster?
Painting your nails can feel like a small act of self-care, but that moment of satisfaction quickly turns to frustration if you smudge your fresh polish before it's even dry. We've all been there, needing to do something, anything, and fearing the worst. The good news is, understanding how nail polish hardens gives us plenty of ways to speed up the process.
The core principle is helping the solvents in the polish evaporate quickly so the film-forming ingredients can set. Manufacturer specifications for common nail lacquers indicate that a full cure can take anywhere from a few hours to a couple of days, but we’re focused on that initial, usable dry time. Let's look at how you can achieve that quicker.
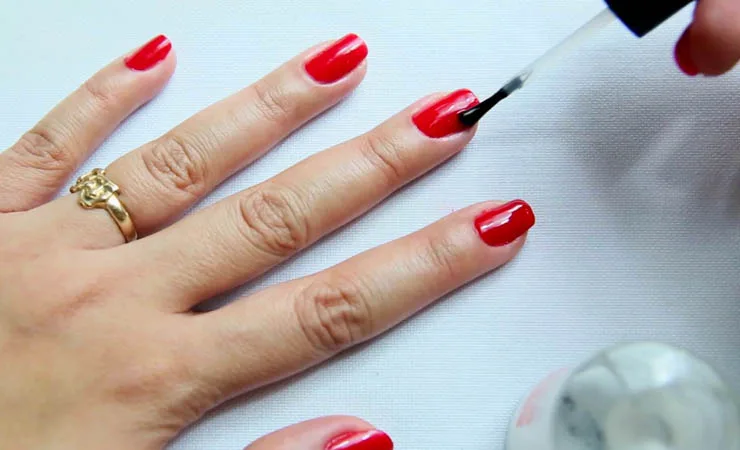
Image source: Bing (Web (fair-use with source credit))
Quick Answer for Speed Drying
To make nail polish dry faster, help its solvents evaporate quickly. Use methods like a fan for airflow, a cool water rinse after a few minutes, or specialized quick-dry drops. Avoid hot water and blowing on your nails, as these slow down the process.
The Science Behind Faster Polish Drying
Nail polish is essentially a mixture of film-formers (the stuff that creates the glossy finish), plasticizers, pigments, and solvents. The solvents are what keep the polish liquid. When you apply it, these solvents begin to evaporate into the air.
As the solvents leave, the film-formers and other ingredients get closer together and harden, creating that smooth, durable coat.
How Evaporation Works
Evaporation is a physical process where a liquid turns into a gas. For nail polish, this means the liquid solvents turn into vapor and disperse into the surrounding air. The rate of evaporation is influenced by a few key factors.
- Temperature: Warmer air can hold more moisture and vapor, but in the context of nail polish, heat can sometimes soften the polish itself, counteracting the drying.
- Airflow: Moving air (like from a fan) helps carry away the solvent vapors from the surface of the polish. This prevents the air directly above the polish from becoming saturated, allowing more solvent to evaporate.
- Surface Area: A thinner coat of polish has more surface area exposed to the air relative to its volume, allowing solvents to escape more easily.
How Cold Helps
While evaporation is about solvents turning into vapor, cold temperatures play a role in solidifying the polish itself. Think of it like chilling chocolate; it becomes firm. Cold air or water can help the film-forming ingredients in the polish contract and harden more quickly.
This isn't the same as the solvent evaporation, but it contributes significantly to that "touchable" dry time, making the surface feel solid sooner.
Your Speed-Drying Toolkit
We've all got different things lying around the house, and luckily, several common items can help speed up your nail polish drying time. It’s all about choosing the right method for your situation.
Using Fans and Airflow
This is one of the simplest and most effective methods. A gentle, constant breeze helps to accelerate the evaporation of solvents from your nail polish.
- How it works: By constantly moving the air around your nails, a fan prevents the air from becoming saturated with solvent vapors. This allows more of the polish's liquid components to turn into gas and escape into the atmosphere.
- Best practices:
- Position yourself so a desk fan or handheld fan blows gently across your nails.
- Avoid holding the fan too close or using a super high setting, as this could potentially blow the wet polish around or dry the surface too quickly, leaving the underneath layers still wet.
The Cool Water Dip
This method uses temperature to your advantage, firming up the polish surface. It’s a popular trick that many find surprisingly effective.
- How it works: After your polish has had a minute or two to set a bit (this is crucial, don't dip if it's still very wet!), immersing your fingertips in ice-cold water helps the polish harden faster. The cold causes the polymers in the polish to contract and solidify.
- Steps:
- Apply your final coat of nail polish.
- Wait 1-2 minutes for a skin to form on the surface.
- Fill a bowl with ice water.
- Submerge your fingertips for 2-5 minutes.
- Gently pat your nails dry with a lint-free cloth.

Image source: Web (Bing) / pinterest.com (Web image (fair-use with source credit))
Fridge and Freezer Hacks
Similar to the cold water dip, this method leverages cold temperatures to speed up the hardening process. It requires a bit less active participation.
- The Method: Once your polish has had a couple of minutes to start setting, place your hands in the refrigerator. You can also use the freezer, but be very brief, about 30 seconds to a minute is plenty.
- Why it's effective: The cold air helps to lower the temperature of the polish, causing the solvents to evaporate more efficiently and the film-formers to solidify.
- A Word of Caution: Don't leave your hands in the cold for too long. You don't want your hands to become uncomfortably numb, and over-chilling could potentially cause issues with the polish’s integrity.
Quick-Dry Products: Drops, Sprays, and Top Coats
These are specially formulated products designed to give your nails a serious speed boost. They’re a common addition to many beauty routines.
- What they are: Quick-dry drops and sprays are liquid formulations applied over your final coat of polish. Quick-dry top coats are simply top coats with added drying accelerators.
- How they work: Many of these products contain ingredients like silicones, which help to spread the product evenly and create a smooth surface. This evenness aids in faster solvent evaporation. Some formulas also contain emollients that can help condition your cuticles, which is a nice bonus.
- When to use them: These are perfect when you're really pressed for time and need your nails to be usable in minutes, not hours.
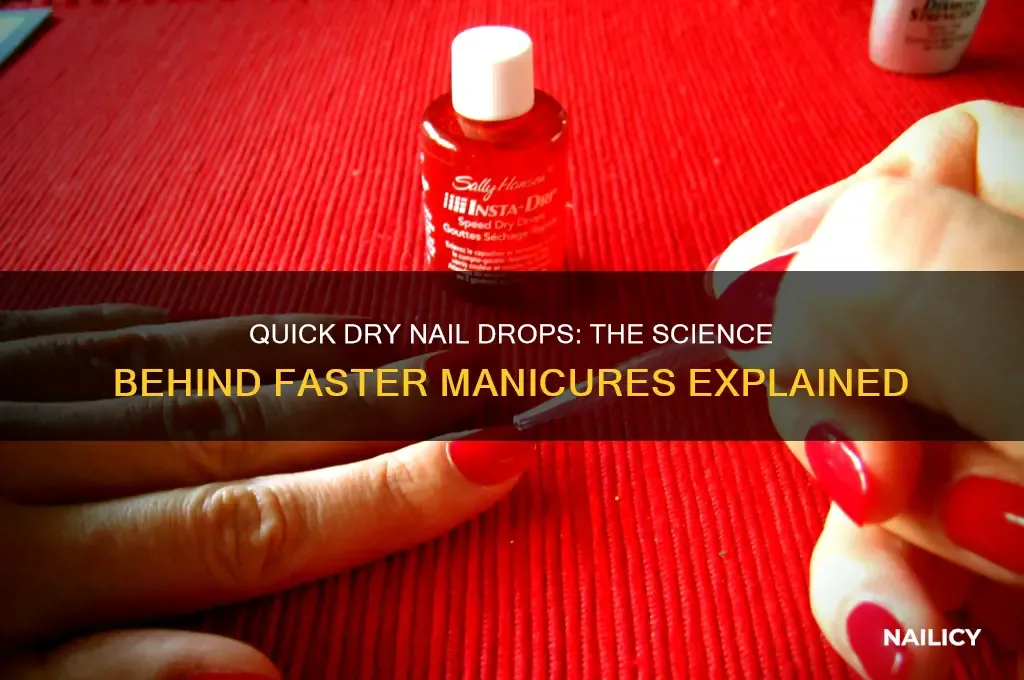
Image source: Bing (Web (fair-use with source credit))
Mistakes That Slow Down Drying
While we're focused on speeding things up, it's also helpful to know what not to do. Certain common habits can actually hinder the drying process and lead to smudges or uneven finishes.
- Using Hot Water: This is a big one. Hot water can soften the polish and make it more pliable, which is the opposite of what you want when you're trying to get it to harden. Stick to cool or cold water if you're using a water-based method.
- Blowing on Your Nails: It seems like a natural instinct, but the air from your breath is warm and moist. This can actually slow down the evaporation of solvents and potentially cause streaks or an uneven dry.
- Applying Too Many Thick Coats: While vibrant color often requires multiple layers, applying excessively thick coats of nail polish will significantly increase drying time. The solvents trapped in the thick layers struggle to escape. It's better to apply two thin coats than one thick one.
- Touching Surfaces Too Soon: Even if your nails feel dry to the touch, the underlying layers might still be soft. Give them a little extra time before engaging in activities that might cause pressure or friction.
Choosing Your Method: A Quick Guide
Deciding which drying method to use really comes down to what you have available and how much time you can spare. Here’s a simple way to think about it:
- If you're at home with a bit of time: A fan is a great, low-effort option. You can also combine this with a cool water dip after the polish has had a minute or two to set.
- If you're in a hurry: Quick-dry drops, sprays, or top coats are your best bet. These are formulated specifically to accelerate drying.
- If you have no special products: The cool water dip or even a brief stint in the fridge can provide a noticeable speed-up after the initial air-drying period.
- If you want to simplify your routine: Consider investing in a good quick-dry top coat. This one product can make a big difference without adding extra steps. You might also find this helpful when considering how can I simplify my beauty routine?.
Keeping Your Manicure Fresh Longer
Once your nails are dry, there are a few things you can do to help maintain that freshly painted look and prevent chips or smudges. It’s about protecting that hard work.
- Wear Gloves: For household chores involving water or chemicals, like washing dishes or cleaning, wear rubber gloves. This protects your nails from moisture and harsh cleaners.
- Avoid Hard Surfaces: Try not to use your nails as tools. Instead of prying something open with your nail, use the tip of a utensil or a dedicated tool.
- Moisturize Regularly: Keeping your cuticles and the skin around your nails hydrated with cuticle oil or hand cream can help prevent dryness, which can sometimes lead to chipping. If you're looking for advice on keeping your skin healthy, how can I protect my skin every day? could offer some useful insights.
- Carry a Clear Top Coat: A quick touch-up with a clear top coat every couple of days can refresh the shine and add a protective layer, helping to prevent small chips from becoming bigger problems. If you’re curious about which beauty products are essential for daily upkeep, what beauty products do I need every day? might be a useful read.
What is a Basic Nighttime Beauty Routine?
When you’re looking to establish a solid nighttime beauty routine, the goal is typically to cleanse, treat, and moisturize your skin so it can repair itself overnight. This process prepares your skin for the day ahead and supports its natural regenerative functions. A well-structured evening routine can address specific concerns like acne, dryness, or signs of aging.
- Key Steps: A typical nighttime routine begins with double cleansing, followed by toning to balance the skin's pH. Next, you’d apply targeted treatments like serums or spot treatments. Finally, a moisturizer locks in hydration and supports the skin barrier.
- Product Considerations: The effectiveness of your routine relies heavily on using appropriate products for your skin type. For instance, those with oily skin might opt for lighter, water-based serums and gel moisturizers, while individuals with dry skin might prefer richer creams and hydrating toners. If you're wondering about the best products for beginners, what beauty products are good for beginners? offers helpful guidance.
How Can I Make My Beauty Routine More Effective?
To boost the effectiveness of your beauty routine, focus on consistency and using products that genuinely benefit your skin’s needs. It’s not about using more products, but about using the right ones strategically. This involves understanding your skin type and any specific concerns you have.
- Personalized Approach: What works for one person might not work for another. Identifying your skin type (oily, dry, combination, sensitive) is the first step. Then, select products with ingredients known to target your concerns, whether that’s acne, fine lines, or uneven tone.
- Strategic Application: The order in which you apply products matters. Generally, you’ll apply products from thinnest to thickest consistency, starting with cleansers, then toners, serums, eye creams, and finally moisturizers. This ensures each product can penetrate effectively. For a simplified approach, how can I simplify my beauty routine? could provide actionable tips.
How Can I Organize My Beauty Products?
A well-organized collection of beauty products makes your routine smoother and helps you avoid using expired items, which can cause problems. Knowing what you have and where it is saves time and frustration. It also ensures you’re using products within their optimal lifespan, a key aspect of safe beauty practices.
- Storage Solutions: Utilize drawer dividers, acrylic organizers, tiered shelves, or even small baskets to group similar items together. Makeup brushes can be stored upright in cups, and palettes can be stacked or filed.
- Decluttering Regularly: Periodically review your collection. If you haven't used something in over six months, or if it’s past its expiration date (check the PAO symbol on the packaging), consider donating or discarding it. Can expired beauty products cause problems? details the risks of using old cosmetics. Proper storage, as discussed in how should I store beauty products?, also plays a crucial role in longevity.
What Beauty Habits Should I Develop?
Developing good beauty habits is about consistent care that supports long-term skin health and appearance. These aren't complicated rituals but simple, repeatable actions that make a significant difference. Building these habits can lead to healthier-looking skin and a more effective overall beauty regimen.
- Daily Essentials: Key habits include daily cleansing to remove impurities, consistent moisturizing to maintain skin hydration, and daily sun protection to shield against UV damage. Wearing sunscreen daily, regardless of the weather, is one of the most impactful habits for preventing premature aging and skin damage.
- Long-Term Practices: Beyond daily care, habits like regular exfoliation to promote cell turnover, proper makeup removal before bed, and staying hydrated by drinking enough water contribute to healthier skin. Developing a consistent routine, whether morning or night, is also crucial. For ideas on building foundational habits, what is a basic morning beauty routine? and what is a basic nighttime beauty routine? offer detailed guidance.