How To Replace Eye Massager Battery: Easy DIY Guide
Most eye massager batteries can be replaced by opening the case, matching the battery, and reconnecting it safely.
Learning how to replace eye massager battery can save money and reduce electronic waste, but these small devices need careful handling. The case may hide a lithium-ion cell, delicate wires, and parts that control heat, vibration, or air pressure. This guide explains the safe process, common mistakes, battery matching, testing, and when repair is not worth the risk.
Before You Replace an Eye Massager Battery
An eye massager battery may stop working for several reasons. The battery may be worn out, the charging port may be damaged, or the charger may not supply power. A loose wire or failed circuit board can also look like a dead battery.
Before learning how to replace eye massager battery, check these simple points:
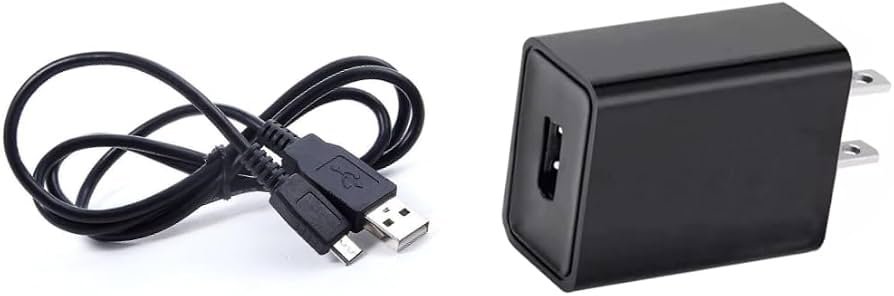
• Charge the device with its original cable and adapter.
• Try another compatible charging cable.
• Clean dust from the charging port with a dry, soft brush.
• Check whether the charging light turns on.
• Test the device after charging for at least two hours.
• Look for swelling, cracks, heat, smoke, or a chemical smell.
Do not open the massager if the battery is swollen or hot. A damaged lithium battery can catch fire when squeezed or punctured. Place the device on a nonflammable surface and contact a qualified electronics repair service.
Many eye massagers are sealed with clips, glue, or small screws. Opening the case may cancel the warranty and can damage the air cushions, heating pads, or control buttons.

Identify the Battery Type and Specifications
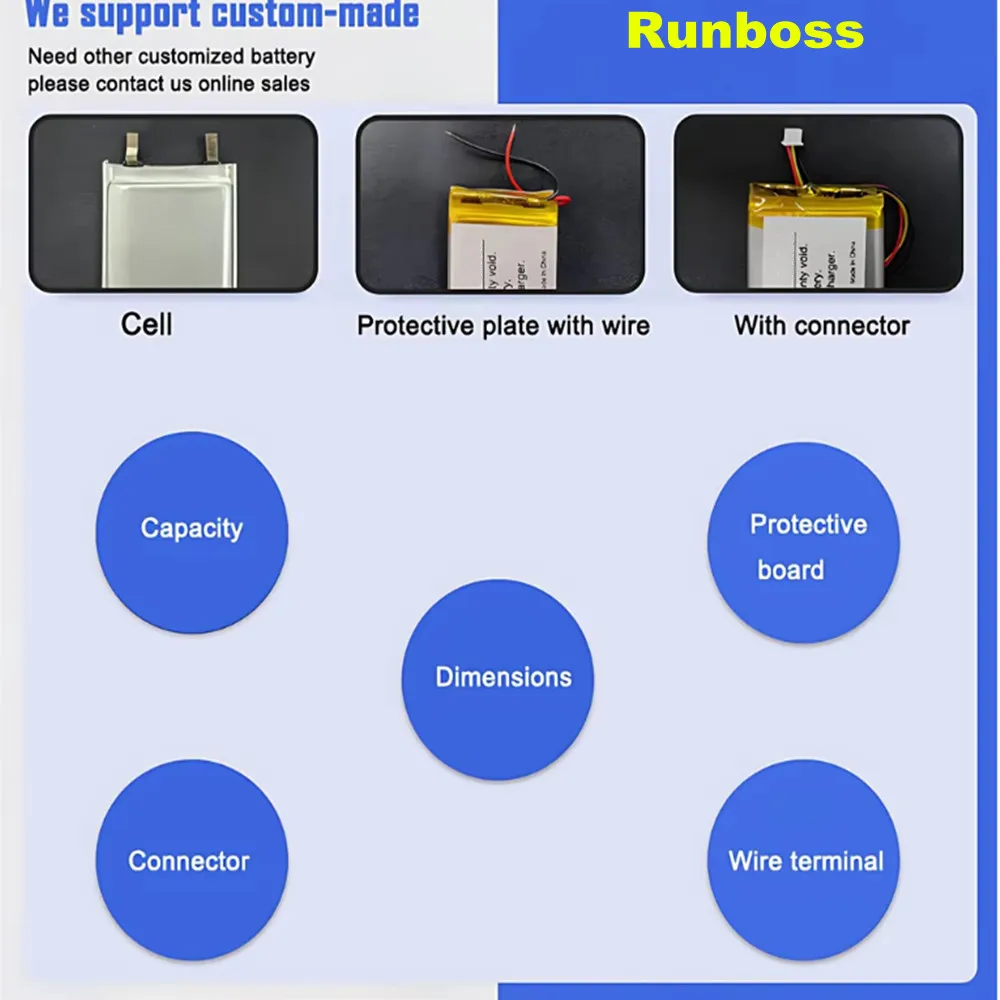
The most important part of learning how to replace eye massager battery is finding the correct replacement. A battery that fits inside the case may still have the wrong voltage, connector, or charging limits.
Remove the rear cover only after the device is switched off and disconnected from power. Take a clear photo of the battery label and wire position before removing anything.
Look for these details:
• Battery chemistry, such as lithium-ion or lithium-polymer.
• Nominal voltage, often 3.7 volts for a single lithium cell.
• Capacity, shown in milliamp-hours, such as 500 mAh or 1,000 mAh.
• Physical size and shape.
• Connector type and wire position.
• Protection circuit or battery management board.
• Number of cells.
The replacement battery should normally have the same voltage and a similar size. A slightly higher capacity may work if it fits and uses the same voltage and connector. Never replace a 3.7-volt battery with a 7.4-volt battery unless the device was designed for two cells.
The connector’s shape is not enough. Two plugs may look alike but use different wire layouts. A reversed positive and negative wire can damage the circuit board or create a dangerous short.
Tools You Need for the Battery Replacement
You do not need a large workshop to replace a battery in an eye massager. Small tools help you work slowly and avoid damage.
Gather the following items:
• A small Phillips or flat screwdriver.
• A plastic pry tool or old plastic card.
• Fine tweezers.
• A digital multimeter.
• Insulating tape or battery-safe adhesive.
• A replacement battery with matching specifications.
• Safety glasses.
• A clean, dry, nonflammable work surface.
A soldering iron may be needed if the battery wires are soldered directly to the circuit board. Soldering near a lithium battery is risky. If you have not worked with rechargeable cells before, choose a repair shop instead.
Avoid metal knives, loose coins, and sharp tools near the battery. A metal tool can bridge the battery terminals and cause a short circuit.
In my hands-on device repairs, the most common mistake was rushing the first opening step. A plastic clip often breaks because someone forces one corner instead of checking for hidden screws. Work around the case with gentle pressure.

How to Replace Eye Massager Battery Step by Step
The exact process varies by brand and model. Use the steps below as a general guide, not as a substitute for the manufacturer’s repair instructions.
1. Turn Off and Prepare the Device
Switch off the eye massager and unplug the charging cable. Remove any detachable strap, mask cover, or accessory that blocks the rear case.
Place the unit on a soft towel. Keep liquids, heat, pets, and children away from your work area.
2. Open the Outer Case
Inspect the case for screws, rubber covers, and seams. Remove visible screws and store them in a small container.
Use a plastic pry tool to release the clips. Move slowly around the edge. Do not pull the two halves apart quickly because short wires may connect them.
If the case is glued, gentle warmth from a low-temperature heat source may soften the adhesive. Do not use a heat gun or high heat near a lithium battery.
3. Photograph the Internal Layout
Take photos from several angles. Capture the battery label, connector, wire colors, and the way the battery is fixed to the case.
These photos help you restore the wires and parts correctly. They also provide a useful record if you need professional help later.
4. Disconnect the Old Battery
If the battery uses a plug, hold the connector itself and pull it straight out. Do not pull the wires.
If the wires are soldered to the board, note the positive and negative terminals before desoldering. Cover the exposed battery leads as soon as they are free.
Never pierce, bend, crush, or twist the old cell. Even a battery that seems empty can hold energy.
5. Remove the Battery
Lift the battery from its adhesive pad with a plastic tool. Avoid sliding a tool under the cell with force.
If the battery is swollen, stop. Do not continue the repair. A swollen cell should be handled through an approved battery recycling or electronics service program.
6. Install the Matching Battery
Place the new cell in the same position as the old one. Keep the wires away from moving parts, air tubes, heating elements, and screw holes.
Connect the plug firmly in the same direction as the original. If soldering is required, use the correct polarity and avoid heating the cell for longer than necessary.
Do not tape over vents, sensors, or pressure channels. The battery must sit flat and must not press against the case.
7. Test Before Closing the Case
Turn the device on for a short test. Check whether the controls, vibration, heat, air pressure, lights, and charging indicator work.
Stop at once if you notice:
• Unusual heat.
• Smoke or a sharp chemical smell.
• Popping or hissing sounds.
• Flashing lights that were not present before.
• A battery that moves, swells, or presses against the case.
If the device works normally, switch it off before closing the case.
8. Reassemble the Eye Massager
Replace internal covers, cushions, screws, and clips in their original positions. Make sure no wire is trapped between the case halves.
Tighten screws until secure, but do not over-tighten them. Excess pressure can crack plastic or affect the mask’s fit.
This step completes the basic process of how to replace eye massager battery. Give the device one full charge while you remain nearby, then test it again.

How to Test the Replacement Battery
Testing helps confirm that the replacement fixed the problem. It also helps reveal a loose connection or a charging fault.
Start with a short power test. Run the eye massager for five to ten minutes and check whether its functions remain stable.
Then check the charging behavior:
• The charging light should act as described in the manual.
• The case should remain cool or only mildly warm.
• The battery should charge within a reasonable time.
• The device should not shut down when heat or air pressure starts.
• The battery should not drain unusually fast.
A multimeter can help test voltage, but only if you know how to use one. Measure at the battery connector with the device disconnected from the charger. Do not let the meter probes touch each other or bridge both terminals.
A new battery may not restore the device if the circuit board, charging port, switch, or heating element has failed. If the same fault remains, further battery replacement may waste time and money.

Common Mistakes to Avoid
Knowing how to replace eye massager battery is useful, but poor technique can damage the device or create a safety hazard.
Avoid these errors:
• Choosing a battery only because it fits.
• Ignoring voltage and connector polarity.
• Using a battery without a protection circuit.
• Pulling wires instead of the connector.
• Puncturing the battery with a screwdriver.
• Charging the device while the case is open and wires are exposed.
• Using a larger battery that presses against the case.
• Applying heat near the cell.
• Reusing damaged insulation.
• Closing the case over a pinched wire.
One mistake I have seen more than once is installing a higher-capacity cell without checking its thickness. The device may work at first, but pressure from the case can damage the battery over time. A safe fit matters as much as electrical compatibility.
Choosing a Safe Replacement Battery
The best replacement battery comes from a reliable seller that provides clear specifications. Avoid unmarked cells or listings that promise unusually high capacity at a very low price.
Before buying, compare:
• Voltage.
• Capacity.
• Length, width, and thickness.
• Connector style.
• Wire polarity.
• Protection features.
• Battery chemistry.
• Manufacturer information.
A protected lithium-polymer battery is often used in compact rechargeable devices. However, the correct choice depends on the original design. Do not assume every small flat battery is interchangeable.
If the original label is unreadable, search for the device’s service information or ask the manufacturer for the approved part. A repair technician can also identify the battery with a multimeter and visual inspection.
Consumer product safety guidance consistently warns against using damaged, modified, or incompatible lithium batteries. Follow the device manual and local battery disposal rules.

When You Should Not Replace the Battery Yourself
Battery replacement is not always the best repair. Some eye massagers have sealed cases, glued battery packs, or complex control boards. Opening them can affect the device’s air seal and comfort.
Choose professional repair when:
• The battery is swollen, leaking, hot, or damaged.
• The battery is soldered and you lack soldering experience.
• The device has a heating function and you cannot identify the temperature sensor.
• The case will not open without force.
• The battery label is missing.
• The device smells burnt.
• The charging port or circuit board also appears damaged.
• The product is still under warranty.
A professional repair may cost more than a replacement massager. Compare the repair price, device age, battery quality, and warranty before deciding.
Safety should come first. An eye massager is used close to the face, so a damaged battery or overheated component is not a minor concern.
Battery Care After Replacement
Proper care can help the new battery last longer. Store the eye massager in a cool, dry place away from direct sunlight.
Use the original charger or a charger that matches the manufacturer’s requirements. Do not leave the device charging under a pillow, inside a hot car, or overnight if the manual warns against unattended charging.
Follow these habits:
• Keep the charging port clean and dry.
• Do not use the massager while it is wet.
• Avoid dropping or crushing the unit.
• Charge it before the battery reaches complete exhaustion.
• Stop using it if the case becomes unusually hot.
• Inspect the case for swelling or separation.
Lithium batteries naturally lose capacity with age. A replacement battery may improve run time, but it will not make an older circuit board new. If the battery drains quickly again, the device may have a power-management fault.
Eye Massager Battery Replacement: Safety and Disposal
Do not throw a rechargeable battery into household trash. Damaged or loose lithium batteries can cause fires in waste and recycling systems.
Cover exposed battery terminals with electrical tape. Place the battery in a small plastic bag or a battery-safe container, and take it to a local battery recycling point. Do not mail a swollen or leaking battery unless a qualified service gives you specific instructions.
Keep the old battery away from metal objects. Coins, keys, and tools can connect the terminals and create heat.
If the battery catches fire, do not touch it or carry it outside. Move people away from the area and contact emergency services. Water may not be suitable for every battery fire, so follow local emergency guidance.
Benefits and Limits of Replacing an Eye Massager Battery
Replacing the battery can extend the life of a useful device. It may restore normal run time and prevent the cost of buying a new massager.
Potential benefits include:
• Lower repair cost.
• Less electronic waste.
• Longer product life.
• Better value from a quality device.
• A chance to preserve a comfortable fit.
There are also limits. The new battery may not fix a broken charging board or worn motor. Opening the case may remove water resistance, reduce the air seal, or void the warranty.
A battery replacement is most worthwhile when the device is otherwise clean, comfortable, and fully functional. If several parts have failed, replacement of the whole unit may be safer and more practical.
Frequently Asked Questions About How to Replace Eye Massager Battery
Can I replace the battery in any eye massager?
No. Some eye massagers have replaceable battery packs, while others use sealed cells that are difficult or unsafe to access. Check the manual, warranty, and battery design before opening the case.
What battery should I buy for an eye massager?
Choose a battery with the same chemistry, voltage, size, connector, and wire polarity as the original. Capacity can sometimes vary slightly, but the cell must fit safely and include suitable protection.
How do I know if the battery is dead?
A dead battery may cause short run time, failure to turn on, or immediate shutdown after charging. Confirm the charger and port work first, because a charging fault can create the same symptoms.
Is it safe to use a higher-capacity battery?
Only if it has the same voltage, correct protection, matching connector, and enough physical space. A higher-capacity cell that presses against the case can become unsafe.
Can I use an eye massager while it charges?
Follow the product manual. Some models allow use during charging, while others do not; using the device during charging may also hide a battery or charging fault.
What should I do with the old eye massager battery?
Cover its terminals and take it to a battery recycling location. Do not place a rechargeable lithium battery in regular household trash.
Why does my eye massager still not work after battery replacement?
The problem may involve the charging port, switch, circuit board, motor, heater, or air pump. Recheck the connector and polarity, then seek professional testing if the fault continues.
Conclusion
Learning how to replace eye massager battery starts with careful diagnosis, correct battery matching, and safe handling. Use the original voltage and connector style, document the wiring, avoid damaged cells, and test the device before closing the case.
If the battery is swollen, soldered, or difficult to reach, professional repair is the safer choice. With the right tools and a patient approach, you can extend the life of a suitable eye massager while avoiding costly mistakes. Check your device manual, choose a verified replacement, and share your repair experience or questions in the comments.