How Do I Clean Hair Styling Tools?
Image source: Bing (Web (fair-use with source credit))
How to Clean Hair Styling Tools: A Practical Guide
Ever caught a whiff of burnt hairspray or seen a sticky film on your flat iron and wondered how to get it clean? Knowing how to clean hair styling tools is key to keeping them working their best and ensuring healthier hair. Over time, product residue, dust, and hair can build up, making your tools less effective and potentially damaging.
Manufacturer specifications often recommend cleaning frequency, with many suggesting a wipe-down after each use and a deeper clean monthly for heavy users. As of 2026, maintaining your styling tools is as crucial as choosing the right products for your hair type. Let's dive into how to get them sparkling again.
Why Cleaning Your Styling Tools Actually Matters
It’s easy to overlook cleaning your hair styling tools, but the benefits are significant. Think of them as kitchen utensils; you wouldn't cook with a greasy pan, right? Hair tools are no different.
Product buildup, especially from silicones and polymers found in many styling sprays and creams, can create a sticky, uneven surface. This residue can then transfer back to your hair, making it look dull, frizzy, and even causing it to feel heavy.
Regular cleaning ensures your tools perform at their peak. For example, a clean flat iron ensures even heat distribution across the plates, which is critical for smooth, effective straightening. According to aggregated user feedback, tools with caked-on residue can snag hair and lead to uneven styling, ultimately ruining your hairdo and potentially causing heat damage.
This proactive maintenance also extends the lifespan of your tools, saving you money in the long run by preventing premature wear and tear.
Your Essential Cleaning Supply Checklist
Before you start tackling that buildup, gather your supplies. Having everything on hand makes the cleaning process smoother and less time-consuming. You don't need a lot of fancy equipment; most of what you’ll need is likely already in your home.
- Soft Cloths: Microfiber cloths are ideal because they are gentle and absorbent, won’t leave lint behind, and are great for wiping surfaces.
- Cotton Swabs/Balls: Perfect for getting into small nooks and crannies, especially around heating elements or intricate parts.
- Rubbing Alcohol (Isopropyl Alcohol): This is your go-to for dissolving most styling product residue. Aim for a concentration of at least 70% for effective cleaning.
- Soft-Bristled Brush: An old toothbrush or a dedicated soft brush works well for gently scrubbing away stubborn bits.
- Mild Dish Soap: For some tools and lighter cleaning, a little diluted dish soap can be effective.
- White Vinegar (Optional): Can be useful for mineral deposit removal on some materials, but use sparingly and rinse thoroughly.
Always ensure your tools are completely unplugged and cooled down before you begin any cleaning. Safety first!
How to Deep Clean Flat Irons and Curling Irons
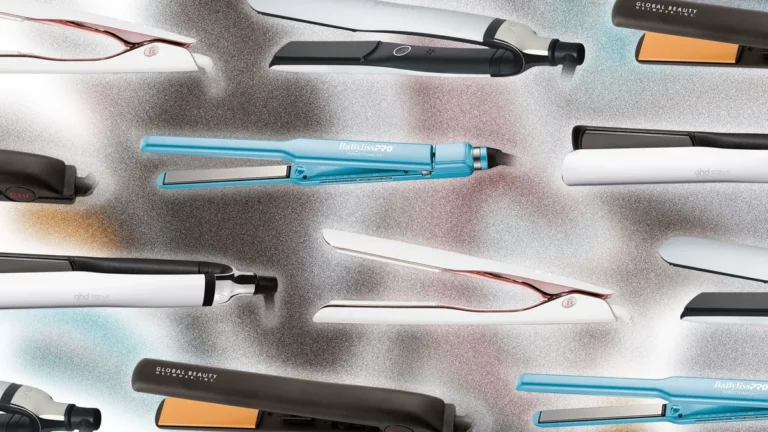
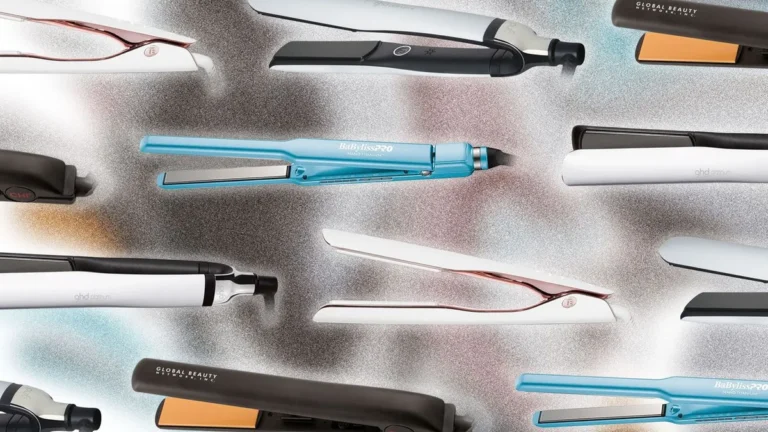
Flat irons and curling irons are notorious for accumulating product residue, which can make them less effective and even damage your hair. Hairspray, heat protectants, and styling creams can bake onto the heated plates or barrels over time. If left unaddressed, this buildup can lead to snagging, uneven heat distribution, and a dull finish on your hair.
Regular cleaning is key to maintaining their performance and ensuring they don't transfer unwanted gunk back onto your strands.
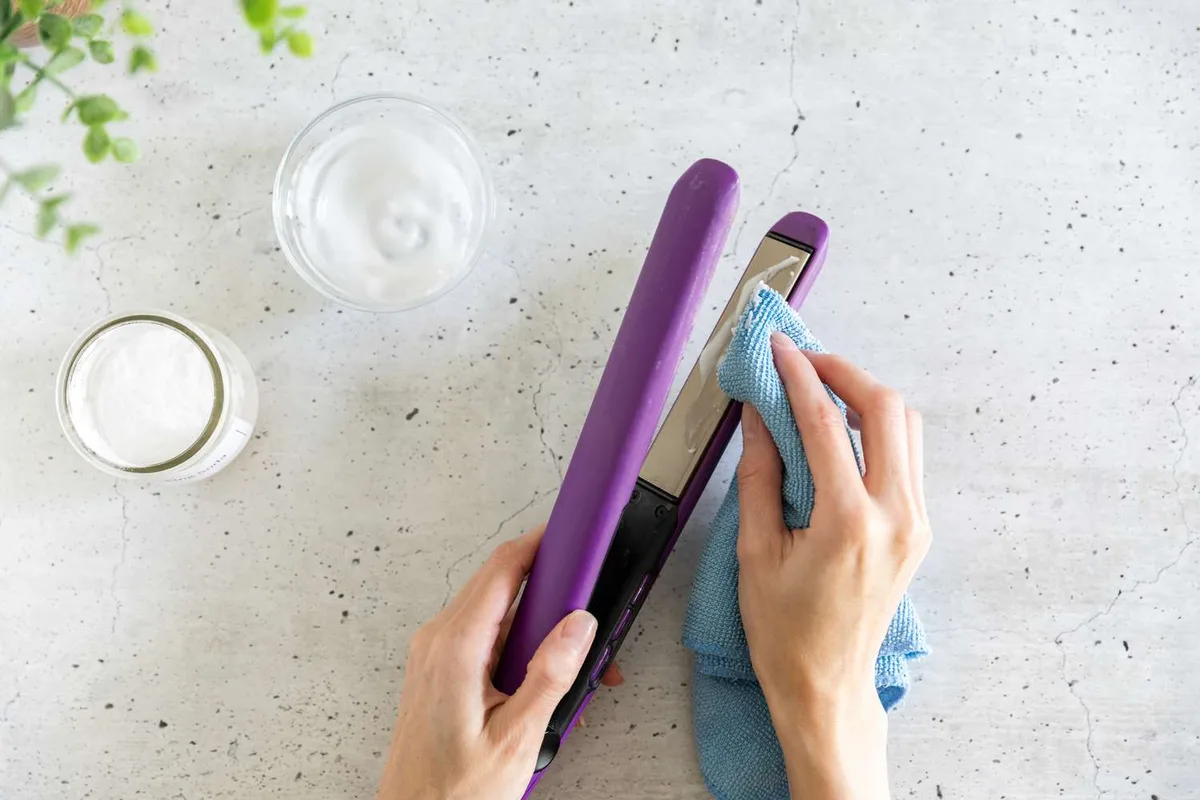
Image source: Bing (Web (fair-use with source credit))
Flat Iron Plate Residue Removal
When cleaning your flat iron plates, start with the easiest method and escalate as needed. Always make sure the iron is unplugged and completely cool. For everyday touch-ups, a damp, soft cloth wiped over the plates after they've cooled can remove most light residue.
If you encounter tougher spots, like dried hairspray or product buildup, reach for rubbing alcohol.
- Step 1: Cool and Unplug: Ensure the flat iron is entirely cool and unplugged from the power source.
- Step 2: Damp Cloth Wipe: Use a soft, slightly damp cloth to wipe down the heated plates.
- Step 3: Rubbing Alcohol Treatment: For stubborn residue, lightly dampen a cotton ball or the corner of a soft cloth with rubbing alcohol. Gently rub the affected areas on the plates. The alcohol is excellent at breaking down most styling product residues without damaging the plate material, like ceramic or titanium.
- Step 4: Targeted Scrubbing: If residue is really caked on, dip a cotton swab into rubbing alcohol and carefully work at the sticky spots. Avoid using abrasive scrubbers or harsh chemicals, as these can scratch or damage the plate surface. Some manufacturer guidelines suggest a paste of baking soda and water for extreme cases, but always test on a small, hidden area first and wipe away completely.
- Step 5: Dry Thoroughly: After cleaning, use a dry cloth to wipe away any remaining moisture. Store the flat iron only when it’s completely dry.
Curling Wand Barrel Gunk Buster
Curling wands and irons face similar challenges to flat irons, with product residue clinging to their barrels. The key is to be gentle, especially with ceramic or tourmaline-coated barrels, to avoid scratching or chipping the surface. Aggressive scrubbing can ruin the tool’s ability to create smooth curls.
- Step 1: Power Down and Cool Off: Always ensure the curling iron or wand is unplugged and has cooled to room temperature.
- Step 2: Initial Wipe: A simple wipe with a soft, damp cloth often removes general dust and light product specks.
- Step 3: Alcohol Application: For baked-on styling creams or hairspray, soak a cotton ball in rubbing alcohol. Gently wipe the barrel’s surface. Rubbing alcohol effectively dissolves these common culprits.
- Step 4: Address Stubborn Spots: If you have particularly persistent gunk, use a cotton swab dampened with rubbing alcohol to carefully scrub the area. For any really tough, burnt-on residue, some sources suggest a very mild abrasive like a paste of baking soda and water, but use this with extreme caution and rinse immediately. Never use metal or abrasive pads, as they will damage the barrel.
- Step 5: Final Dry: Use a clean, dry cloth to ensure the barrel is completely dry before you put it away. This prevents any potential damage from residual moisture.
Revitalize Your Blow Dryer: Clearing the Air Intake
Your blow dryer works by pulling air through an intake, heating it, and expelling it at high speed. Over time, this intake, usually located at the back, can become clogged with lint, dust, and hair. This buildup restricts airflow, forcing the motor to work harder, which can lead to overheating and reduced drying efficiency.
It might even cause your dryer to emit a burning smell. Regular cleaning of the air intake is one of the most critical maintenance steps for any blow dryer.
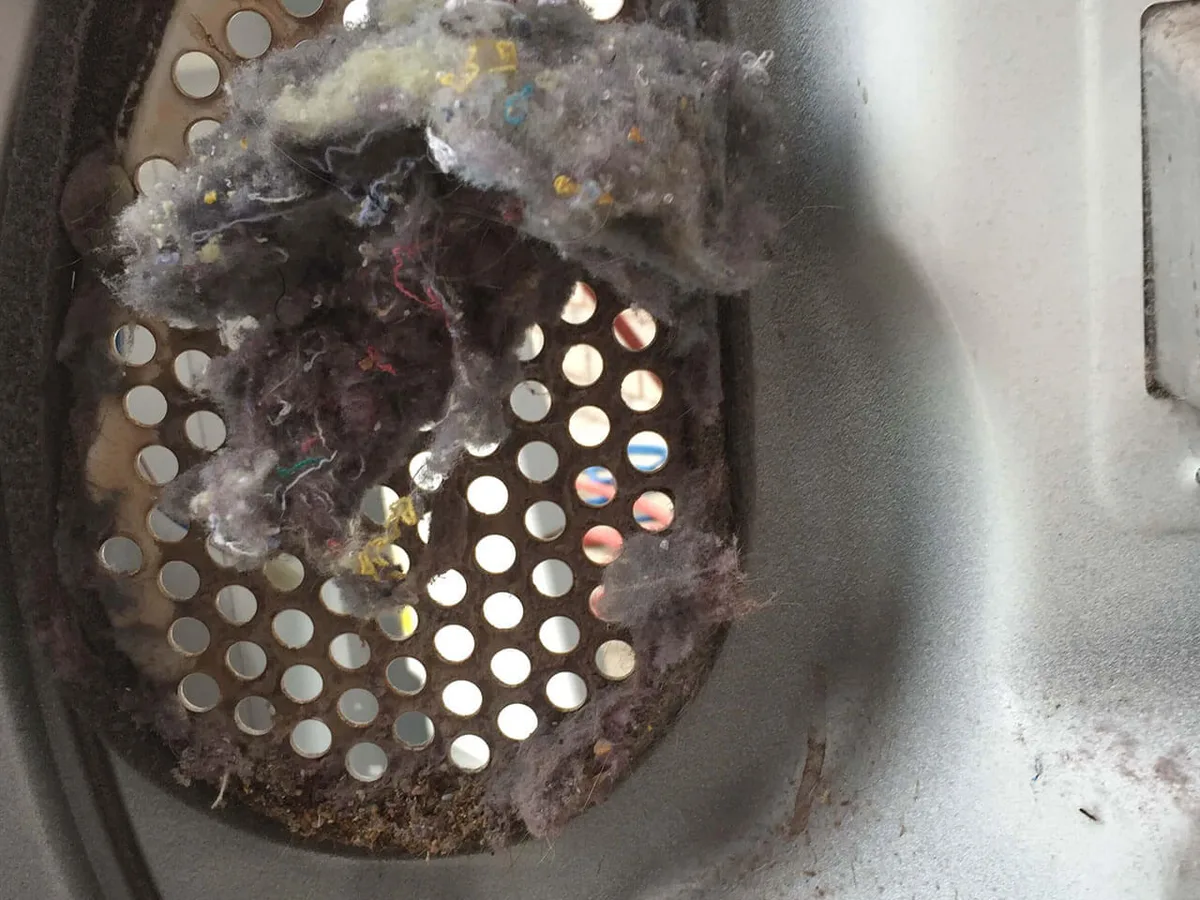
Image source: Bing (Web (fair-use with source credit))
- Step 1: Safety First, Unplug It: This is non-negotiable. Ensure the blow dryer is unplugged from the wall before you attempt any cleaning.
- Step 2: Locate and Remove the Filter: Most blow dryers have a removable cover or grille at the back that acts as the air intake filter. This might twist off, unclip, or be held on by screws. Consult your user manual if you're unsure how to remove it.
- Step 3: Remove Debris: Once the filter is removed, use your fingers or a soft brush to gently pull away any accumulated dust bunnies, lint, hair, and other debris. This part can be surprisingly satisfying.
- Step 4: Wash if Necessary: If the filter is heavily soiled, you can usually rinse it under warm running water. Allow it to air dry completely before reattaching it. Manufacturer specifications often stress that any moisture inside the dryer can cause damage.
- Step 5: Clean Fixed Grilles: If your blow dryer has a fixed grille that cannot be removed, use a soft brush or a vacuum cleaner with a brush attachment to carefully clean the area.
- Step 6: Check the Nozzle: Sometimes, hair or debris can get lodged in the nozzle attachment itself. Use tweezers or a cotton swab to carefully clear any blockages.
Restoring Your Brushes and Combs to Their Former Glory
Hair brushes and combs are constantly in contact with your hair, scalp, and styling products. This means they can quickly accumulate a significant amount of hair, dead skin cells, product residue, and natural oils. Letting this buildup persist doesn't just look unappealing; it can actually transfer old product and bacteria back onto your clean hair, defeating the purpose of your styling routine.
Regular cleaning is essential for hygiene and to ensure your brushes work effectively.
- Step 1: Remove Loose Hair: This is the first and often most tedious step. Use your fingers, a comb, or a specialized hair tool to pull out all the strands of hair caught in the bristles or teeth. Some find a seam ripper quite effective for lifting stubborn hair.
- Step 2: Prepare a Cleaning Solution: For most plastic, nylon, or boar bristle brushes, a soak can help loosen remaining residue. Fill a basin with warm water and add a few drops of mild dish soap. Avoid soaking wooden brushes or those with natural bristles for too long, as excessive moisture can cause damage.
- Step 3: Soak and Scrub: Submerge your brushes and combs in the soapy water for about 10-15 minutes. Afterward, use a soft toothbrush or a dedicated brush cleaning tool to gently scrub away any remaining product buildup from the bristles and the base of the brush.
- Step 4: Rinse Thoroughly: Once scrubbed, rinse each item well under cool running water to remove all soap residue. Make sure to rinse between bristles to get all the grime out.
- Step 5: Air Dry Completely: This is crucial. Lay your brushes and combs on a clean towel, bristle-side down if possible, to allow water to drain away. Ensure they are fully dry before storing to prevent mold or mildew growth.
Common Styling Tool Cleaning Mistakes to Sidestep
Even with the best intentions, it's easy to make mistakes when cleaning hair styling tools that can either be ineffective or, worse, damage the tools themselves. Understanding these common pitfalls can save you frustration and ensure your tools last longer and perform better. For instance, using the wrong cleaning agent or an abrasive scrubber can ruin delicate surfaces like ceramic plates or specialized coatings.
Here are some mistakes to actively avoid:
- Using Abrasive Materials: Never use steel wool, harsh scouring pads, or abrasive cleaners on the plates of your flat iron or the barrel of your curling iron. These can scratch the surface, leading to snagging and uneven heat distribution.
- Submerging Electrical Tools: Never submerge an entire flat iron, curling iron, or blow dryer in water. This is a major safety hazard and will almost certainly damage the electrical components, rendering the tool useless.
- Cleaning While Hot: Always wait for your styling tools to cool down completely before cleaning. Attempting to clean a hot tool can cause burns and can also damage certain materials that may react negatively to rapid temperature changes.
- Using Harsh Chemicals: Strong solvents or cleaning agents not specifically designed for beauty tools can degrade materials, discolor surfaces, or leave behind chemical residues that could harm your hair or skin. Stick to rubbing alcohol or mild soap.
- Skipping the Drying Step: Forgetting to dry tools thoroughly after cleaning can lead to corrosion, mold, or damage to internal components, especially for blow dryers or brushes with wooden handles. Ensure everything is bone dry before storage.
- Ignoring the Blow Dryer Intake: Many people only clean the barrel of their curling iron or the plates of their straightener, forgetting about the blow dryer's air intake. A clogged intake significantly impacts performance and can shorten the dryer's life.
Expert Tips for Sparkling Styling Tools and Better Hair Days
Beyond the basic cleaning steps, a few pro tips can elevate your tool maintenance game. For instance, consider the materials of your tools. Ceramic, titanium, and tourmaline plates on irons often have specific care requirements outlined by manufacturers.
Following these guidelines, usually found in the product manual, is crucial for their longevity and performance.
When dealing with older tools, especially vintage blow dryers, be extra cautious. Their electrical components might be more fragile. If a tool has a strong chemical smell even after cleaning, it might be time to consider replacement, as it could indicate internal damage or degradation of materials.
For those with extensive hair product usage, incorporating a quick wipe-down with rubbing alcohol after each styling session can prevent significant buildup.
Frequently Asked Questions About Hair Tool Cleaning
How often should I clean my styling tools?
For daily users, a quick wipe-down of flat irons and curling irons after each use with a damp cloth is recommended. A more thorough cleaning with rubbing alcohol should be done monthly, or more frequently if you use a lot of product. Blow dryer intakes should be checked and cleared of debris at least monthly.
Can I use nail polish remover to clean my styling tools?
No, nail polish remover is generally too harsh and can damage the plates or barrels of your styling tools. It can strip protective coatings and leave behind residues that are difficult to remove and potentially harmful to your hair. Stick to rubbing alcohol for effective product buildup removal.
What should I do if my styling tool still has residue after cleaning?
If stubborn residue remains, try a more focused application of rubbing alcohol using a cotton swab. For extreme cases on flat irons or curling irons, some manufacturers suggest a very mild paste of baking soda and water, applied sparingly and wiped off immediately. Always test in an inconspicuous area first and ensure thorough rinsing and drying.
Is it safe to clean the electrical components of my styling tools?
Never attempt to clean any internal electrical components of your styling tools. Always ensure the tool is unplugged and has cooled down. Cleaning should be limited to the exterior surfaces that come into contact with hair, like plates, barrels, and air intake vents.
How can I make my styling tools last longer?
Proper cleaning, as outlined above, is the primary way to extend the life of your tools. Additionally, always use heat-protectant sprays on your hair, store tools carefully to avoid damaging cords or plates, and avoid running tools over their highest heat settings unless absolutely necessary. Refer to manufacturer guidelines for specific maintenance advice.