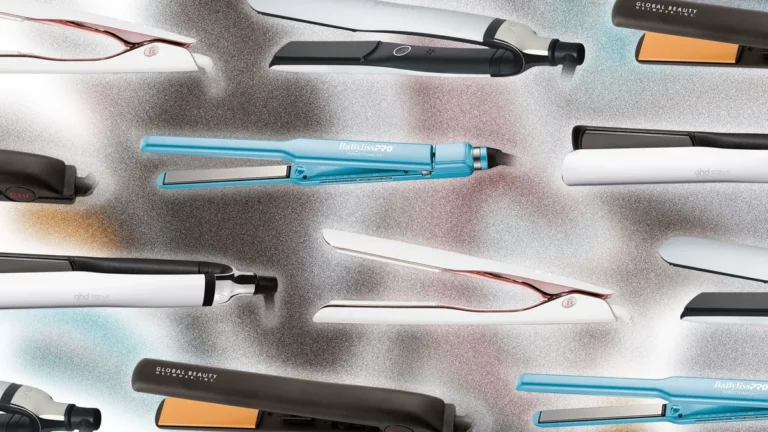
How Do I Clean a Hair Straightener?
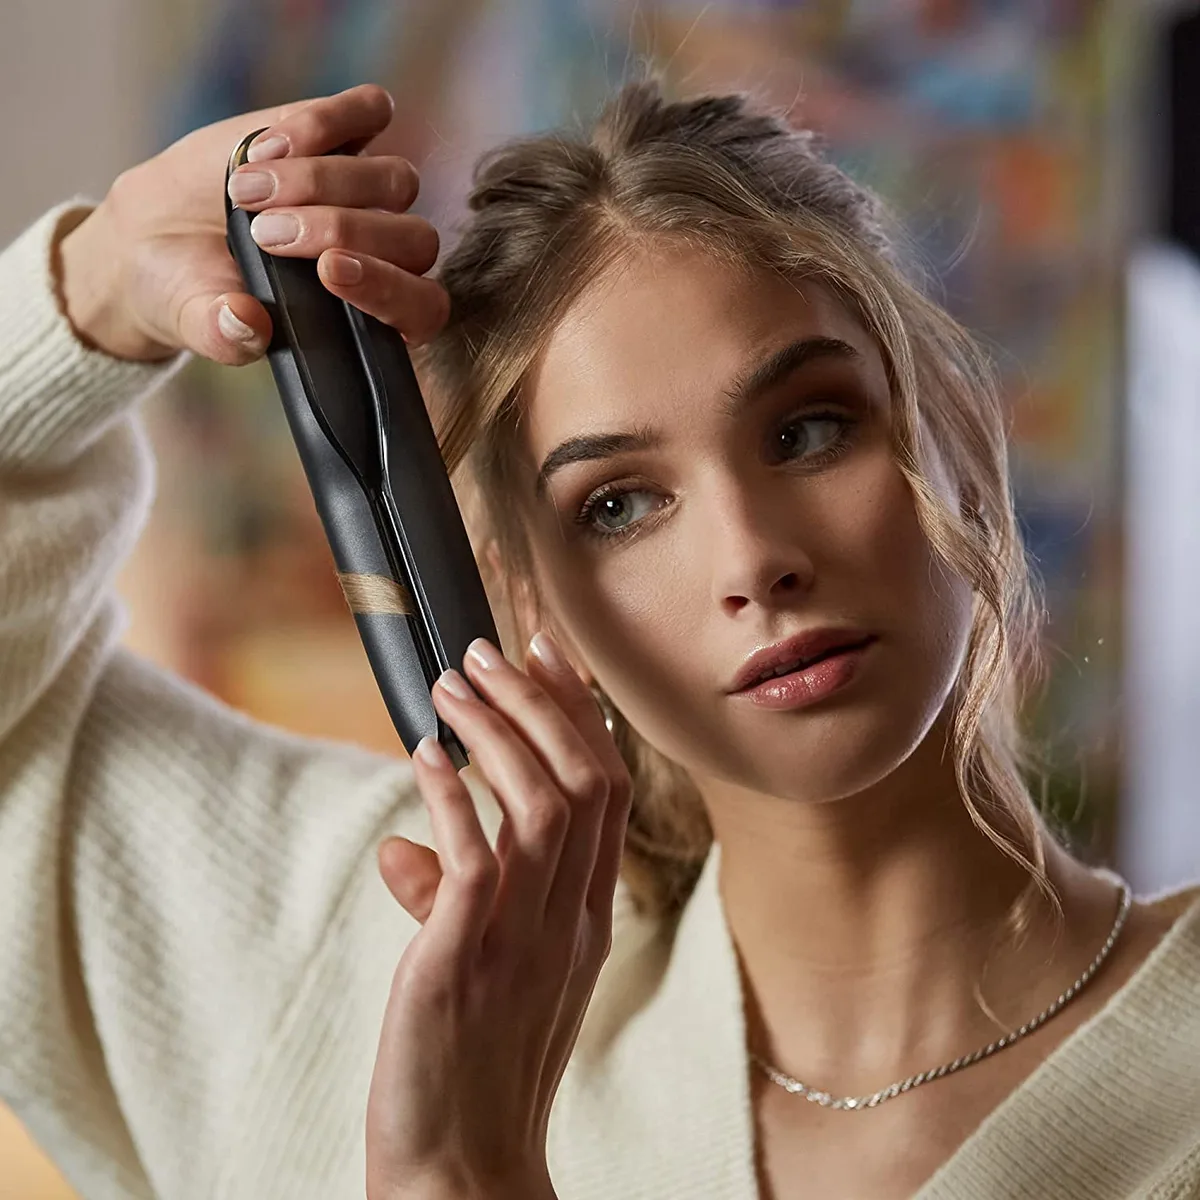
Image source: Bing (Web (fair-use with source credit))
Your hair straightener isn't performing like it used to, or maybe you're noticing some sticky residue on the plates. That's totally common! Over time, product buildup can make your styling tool less effective and even snag your hair.
Learning how to clean a hair straightener is a simple way to keep it working well.
The good news is, getting your straightener back in top shape is usually straightforward. Manufacturer specifications often recommend cleaning residue from styling products and mineral deposits regularly. Let's get your tool gliding smoothly again.
Safety Check: Unplug and Cool Down First!
Before you even think about grabbing a cleaning cloth, the absolute first step is to ensure your hair straightener is safe to handle. This means it needs to be completely unplugged from the wall outlet. Secondly, and just as critical, it must be completely cool to the touch.
Heating elements can retain heat for a surprisingly long time after being switched off. Our research indicates that attempting to clean a hot appliance can lead to severe burns and potentially damage the tool's components. Always allow ample time for it to cool down, which can take anywhere from 10 to 30 minutes depending on the model and how long it was in use.
Straightener Plate Materials: What's Yours Made Of?
The material of your hair straightener's plates matters a lot when it comes to cleaning. Different materials react differently to cleaning agents and can be more or less susceptible to damage. Understanding your plates' composition helps you choose the safest and most effective cleaning method.
Ceramic plates, for example, are common and distribute heat evenly but can be scratched by abrasive cleaners. Titanium plates are known for their durability and fast heating but can sometimes react poorly to certain chemicals. Tourmaline, often infused into ceramic or titanium, is a mineral that helps reduce frizz and static.
Always check your straightener's manual or the manufacturer's website if you're unsure about your specific model's plate material.
Quick Answer
To clean a hair straightener, first unplug it and ensure it's cool. For light residue, wipe with a damp cloth. For tougher buildup, use a cotton pad dampened with rubbing alcohol or a paste of baking soda and water, gently scrubbing the plates.
Rinse with a damp cloth and dry thoroughly.
Dealing with Light Residue: The Quick Wipe
Sometimes, all your hair straightener needs is a quick refresh. If you notice just a bit of styling product, like a light mist of hairspray or a tiny bit of serum, clinging to the plates, you're in luck. This is the easiest type of cleaning and can often be done with just a damp cloth.
The key here is to act relatively quickly. If product residue is left to bake on, it becomes much harder to remove.
- What you'll need: A soft, clean cloth (microfiber is ideal) and a little bit of water.
- How to do it: Lightly dampen the cloth. You want it moist, not dripping wet. While the plates are cool, gently wipe away the residue. The moisture helps loosen the gunk.
- The follow-up: After wiping, use a dry part of the cloth or a separate dry cloth to thoroughly dry the plates. Moisture left on the plates can lead to issues later on. This quick wipe is perfect for maintaining your straightener between deeper cleans.
Tackling Stubborn Buildup: Alcohol and Baking Soda Methods
When a simple damp cloth isn't cutting it, you'll need a bit more power to deal with accumulated product residue or stubborn grime. Fortunately, you likely already have effective cleaning agents in your home. These methods are designed to break down the sticky, waxy, or chalky buildup that can prevent your straightener from heating evenly or gliding smoothly through your hair.
Using Rubbing Alcohol for Product Residue
Rubbing alcohol, specifically isopropyl alcohol (70% or 90%), is a fantastic solvent for breaking down many common hair product ingredients. It evaporates quickly, which is ideal for an electronic appliance.
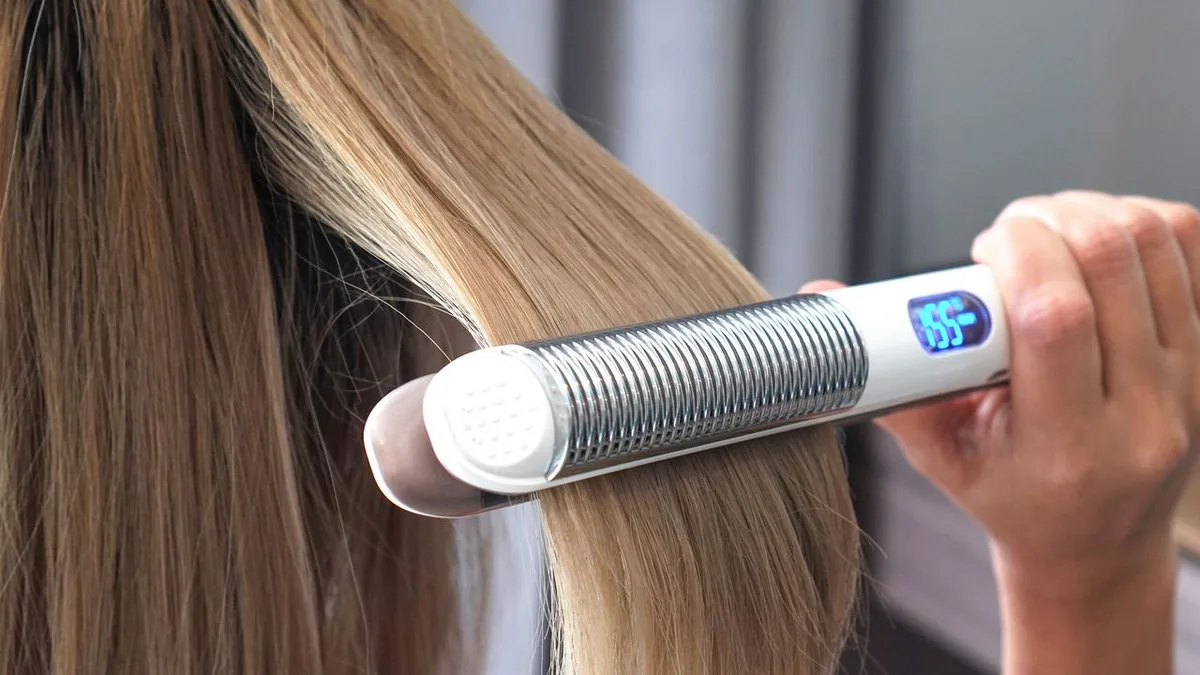
- What you'll need: Rubbing alcohol (70% or 90% isopropyl alcohol) and cotton pads or balls.
- How to do it:
- Ensure the straightener is unplugged and completely cool. This is non-negotiable for safety.
- Dampen a cotton pad with the rubbing alcohol. Don't soak it; just get it damp enough to transfer the alcohol.
- Gently rub the areas on the plates where you see residue. You should notice the gunk starting to lift onto the cotton pad.
- You might need to use several cotton pads as they become soiled. Keep going until the residue is gone.
- After cleaning, wipe the plates down with a clean, slightly damp cloth to remove any lingering alcohol.
- Finally, dry the plates thoroughly with a soft, dry cloth before using or storing the straightener.
The Baking Soda Paste Fix for Tough Spots
For really stubborn, caked-on residue that rubbing alcohol can't quite budge, a baking soda paste can be your best friend. Baking soda is a mild abrasive that can help scrub away tough grime without being overly harsh, especially when mixed with water. As of 2026, this DIY solution remains a popular choice for tackling challenging cleaning tasks on styling tools.
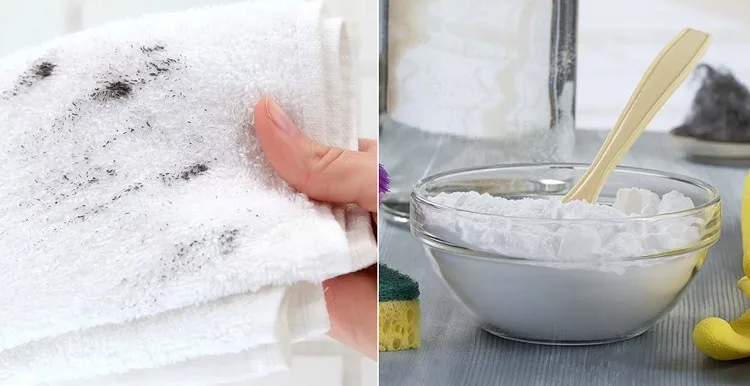
- What you'll need: Baking soda and a small amount of water.
- How to do it:
- Confirm the straightener is unplugged and cool. Safety first, always!
- In a small dish, mix a tablespoon of baking soda with just enough water to form a thick paste. It should be a spreadable consistency, not runny.
- Apply this paste directly onto the stubborn residue on the plates.
- Let the paste sit for about 5, 10 minutes to begin working on the buildup.
- Gently scrub the paste with a soft cloth or an old (but clean!) toothbrush. Work in small, circular motions.
- Wipe away the paste and loosened residue with a clean, damp cloth. You may need to rinse your cloth and repeat this wiping step a few times to get all the baking soda off.
- Crucially, dry the plates completely with a soft, dry cloth before your next use or storage.
Removing Mineral Deposits with Vinegar
If you live in an area with hard water, you might notice a chalky or white film building up on your straightener plates over time. This is due to mineral deposits, primarily calcium and magnesium, left behind as water evaporates. These deposits can affect how well your straightener heats and glides.
White vinegar is a fantastic natural solution for breaking down these mineral buildups. It's acidic enough to dissolve the deposits without being overly harsh on most plate materials.
- What you'll need: White vinegar, water, and cotton pads or a soft cloth.
- How to do it:
- Make sure the straightener is unplugged and cool. This step is vital for safety.
- Mix equal parts white vinegar and water in a small bowl. For example, you could use 2 tablespoons of vinegar and 2 tablespoons of water.
- Dampen a cotton pad or a corner of your soft cloth with the vinegar-water solution.
- Gently wipe down the plates, paying attention to areas with visible mineral deposits. You should feel the deposits start to break down and lift.
- Once the deposits are removed, use a clean cloth dampened with plain water to wipe the plates and remove any residual vinegar smell or solution.
- Finally, dry the plates thoroughly with a dry cloth to prevent any moisture from remaining.
Common Mistakes to Avoid When Cleaning Your Straightener
Just as important as knowing the right way to clean your hair straightener is understanding what not to do. Certain cleaning methods or agents can actually damage your styling tool, reduce its lifespan, or even pose a safety risk. Avoiding these common blunders will help keep your straightener in excellent working condition.
- Never immerse it in water: Hair straighteners are electrical appliances. Submerging them in water or running them directly under a tap can cause severe damage, electrical shorts, and create a serious safety hazard. Always use damp cloths or pads for cleaning.
- Avoid harsh chemicals: Steer clear of acetone-based nail polish removers, bleach, abrasive scrubbing powders (other than the carefully applied baking soda paste), or industrial cleaners. These can strip protective coatings, scratch plates, and degrade the materials.
- Don't clean while it's hot: As mentioned earlier, a hot straightener is a burn risk and can cause cleaning solutions to evaporate too quickly, reducing their effectiveness. Always wait until the tool is completely cool and unplugged.
- Scrubbing too hard: Even with baking soda, excessive force can scratch delicate plate materials like ceramic or tourmaline. Gentle, consistent pressure is more effective and safer for your tool.
- Using metal tools: Never use knives, steel wool, or other metal objects to scrape off residue. These will invariably scratch and damage the plates, impacting their performance and potentially snagging your hair.
- Not drying thoroughly: Leaving plates even slightly damp after cleaning can lead to rust or corrosion over time, especially if your straightener has metal components. Always ensure they are bone dry.
Pro Tips for Keeping Your Straightener Clean Long-Term
A little preventative care can go a long way in keeping your hair straightener in tip-top shape. Regularly cleaning your tool doesn't just make it look better; it ensures it functions optimally, heats evenly, and glides smoothly through your hair. This not only saves you time but also helps prevent hair damage.
By adopting a few simple habits, you can significantly extend the life of your styling tool and maintain those salon-quality results.
- Allow styling products to dry: Always ensure your hair products, like heat protectants, serums, or mousses, are fully dry on your hair before you start straightening. Applying heat to wet product residue is a primary cause of sticky buildup. A quick blast with a hairdryer on a cool setting can help speed this up if needed.
- Quick wipe-down after use: After you've finished styling and unplugged your straightener, give the plates a quick wipe with a dry, soft cloth. If you notice any tiny bits of product or hair, this immediate wipe will remove them before they have a chance to bake on. This is particularly effective while the plates are still slightly warm but safely cool enough to touch.
- Regular deep cleaning schedule: Don't wait until your straightener is heavily soiled. Aim for a more thorough cleaning, using methods like rubbing alcohol or baking soda paste, every 4, 6 weeks. If you use your straightener daily or with heavy styling products, you might need to clean it more frequently, perhaps every 2, 3 weeks.
- Proper storage: Store your straightener in a cool, dry place. If it has a heat-resistant mat or case, use it. This protects the plates from dust, accidental bumps, and other debris that could adhere to them. Avoid storing it with cords tangled tightly, which can stress the internal wiring.
What Tools and Materials Do I Need?
To effectively clean your hair straightener, gathering the right supplies beforehand makes the process smooth and efficient. Having everything ready prevents interruptions and ensures you have what you need for different types of buildup. Most of these items are likely already in your home, making this a low-cost maintenance task.
Here’s a quick rundown of what’s most helpful:
- Soft cloths: Microfiber cloths are ideal as they are gentle and absorbent, perfect for wiping and drying without scratching. Have at least two on hand, one for damp wiping and one for drying.
- Cotton pads or balls: These are excellent for applying cleaning solutions like rubbing alcohol or vinegar directly to specific spots on the plates.
- Rubbing alcohol (isopropyl alcohol): A 70% or 90% solution is highly effective for dissolving product residue.
- Baking soda: This mild abrasive works well as a paste to tackle tougher, stuck-on gunk.
- White vinegar: Great for breaking down mineral deposits from hard water.
- Small bowl: For mixing cleaning solutions like baking soda paste or vinegar solution.
- Old toothbrush (optional): Can be useful for gently scrubbing away stubborn residue, especially around the edges of the plates.
Remember to always ensure your straightener is unplugged and completely cool before you begin any cleaning.
How Does Plate Material Affect Cleaning Choices?
The type of material your hair straightener's plates are made of is a critical factor in deciding which cleaning agents and methods are safe and effective. Different materials have varying porosity, heat conductivity, and resistance to chemicals. Using the wrong cleaner or scrubbing too aggressively can lead to permanent damage, affecting your straightener's performance and longevity.
For instance, ceramic plates distribute heat evenly but can be sensitive to harsh abrasives.
- Ceramic Plates: These are common and offer smooth gliding. They are generally best cleaned with mild solutions like damp cloths, rubbing alcohol, or a diluted vinegar solution. Avoid abrasive cleaners or aggressive scrubbing, as this can scratch the ceramic finish.
- Titanium Plates: Known for their durability and rapid heating, titanium plates are quite robust. They can generally handle rubbing alcohol and mild cleaners well. However, they can sometimes be more reactive to certain chemicals, so always test a small, inconspicuous area first if unsure.
- Tourmaline Plates: Often infused into ceramic or titanium, tourmaline is a mineral known for reducing frizz and static. The cleaning recommendations for tourmaline plates are similar to those for the base material they are infused with (ceramic or titanium). Gentle methods are always preferred.
Always consult your straightener's manual if you're uncertain about your specific model's plate composition. Manufacturer specifications often provide guidance on approved cleaning agents.
When Should I Consider Replacing My Straightener?
While cleaning can restore much of your hair straightener's performance, there comes a point when no amount of cleaning will suffice. If your tool is showing significant wear and tear, it might be time to consider a replacement for both performance and safety reasons. Our research into appliance lifespans suggests that most hair styling tools have an average lifespan of 3, 5 years with regular use and proper maintenance.
Signs that indicate it might be time for a new straightener include:
- Visible plate damage: Deep scratches, chips, or warping on the plates can snag hair and lead to breakage. If the plate material itself is peeling or coming off, it's a definite sign for replacement.
- Uneven heating: If the straightener no longer heats up consistently across both plates, or if it takes an unusually long time to heat, the internal heating elements may be failing. This leads to inconsistent styling and can even scorch sections of your hair.
- Electrical issues: Frayed cords, a faulty on/off switch, or strange smells during operation are serious safety concerns. Never continue to use a tool that exhibits electrical problems.
- Poor gliding: Even after thorough cleaning, if your straightener no longer glides smoothly through your hair and causes tugging or pulling, the plate surface may be degraded. This can be a sign of wear or micro-damage that affects hair health.
- Outdated technology: Newer models often feature improved heat control, faster heating times, and advanced plate materials that offer better hair protection and styling efficiency. If your current tool is over 5 years old, an upgrade could offer significant benefits.
Frequently Asked Questions About Cleaning Hair Straighteners
How often should I clean my hair straightener?
You should aim for a deep clean every 4, 6 weeks, or more often if you use styling products daily or notice buildup. A quick wipe after each use also helps maintain the plates.
Can I use nail polish remover to clean my straightener?
No, you absolutely should not use nail polish remover (acetone). It's too harsh and can damage the plates, strip coatings, and potentially harm the appliance. Stick to gentler, recommended cleaning agents like rubbing alcohol or a baking soda paste.
My straightener still feels sticky after cleaning. What now?
If residue persists, try the baking soda paste method again, letting it sit a bit longer. Ensure you're using enough elbow grease without being overly aggressive. If it’s still sticky, there might be damage to the plates that prevents a complete clean.
Is it safe to use vinegar on my straightener plates?
Yes, a diluted white vinegar solution is safe and effective for removing mineral deposits. Just make sure to rinse with a damp cloth afterward and dry thoroughly to remove any lingering vinegar smell and ensure no moisture remains on the plates.
Can cleaning damage my hair straightener?
Yes, improper cleaning methods can cause damage. Using harsh chemicals, abrasive scrubbers, metal tools, or immersing the appliance in water can all lead to irreparable harm. Always follow the gentle, step-by-step guidelines provided.