How Do I Clean Beauty Tools?
Keeping your beauty tools clean is more than just a nice-to-do; it’s a must-do for healthy skin and effective product application. When your brushes, sponges, and applicators harbor old makeup, oils, and bacteria, you risk breakouts and irritation every time you use them. Understanding how to clean beauty tools properly is key to a good beauty routine.
Proper hygiene for beauty tools is widely recognized as essential. For instance, per manufacturer guidelines, makeup brushes should be cleaned at least weekly to minimize bacterial growth, which can reach significant levels in just a few days. Let’s break down the best approaches for keeping your tools in top condition.
Quick Answer
To clean beauty tools, wash them with mild soap and water, rinse thoroughly, and air dry completely. The exact method depends on the tool type: makeup brushes and sponges need weekly washes with special cleansers, while metal tools can be disinfected with rubbing alcohol. Properly cleaned tools prevent breakouts and improve product application.
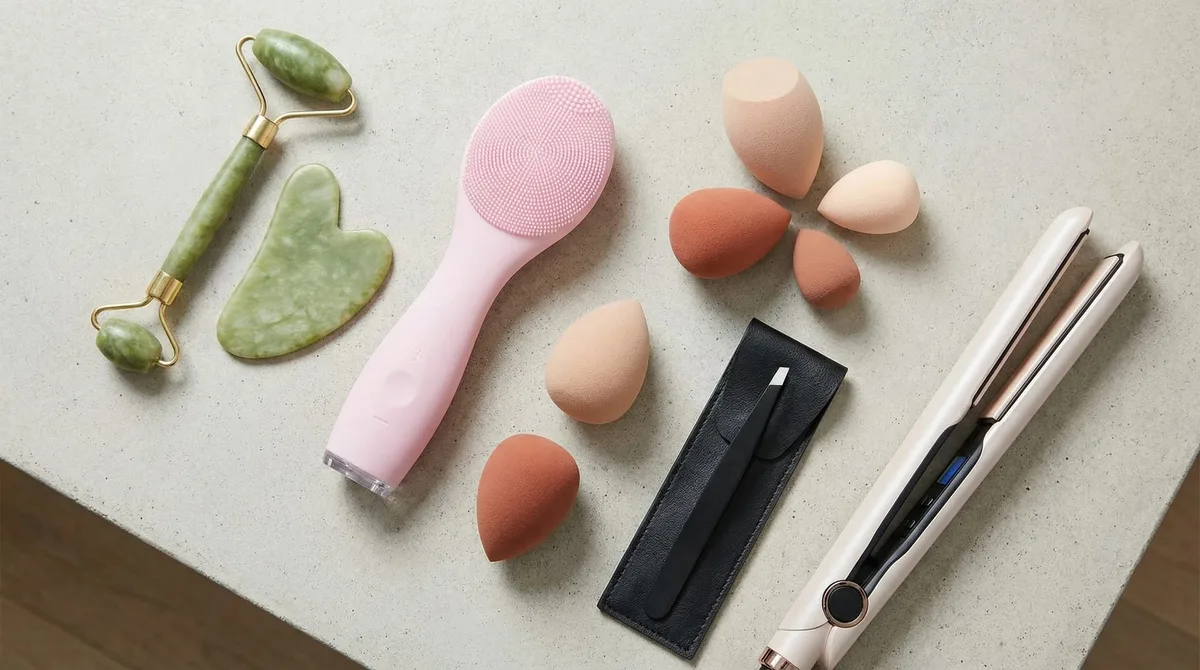
Image source: Bing (Web (fair-use with source credit))
Makeup Brushes & Sponges: Your Weekly Wash List
Makeup brushes and sponges are porous and come into direct contact with your skin and makeup products. This makes them prime real estate for bacteria, dead skin cells, and leftover product. Over time, this buildup can clog pores, lead to acne, and even cause skin infections.
Our research indicates that a weekly cleaning schedule is generally recommended for most face brushes and sponges, while eye brushes can often be cleaned every 2-3 uses. Sticking to a routine ensures these tools function as intended and don't compromise your skin's health.
Quick Clean vs. Deep Clean
There's a difference between a quick refresh and a thorough sanitization. A quick clean removes surface-level makeup and oil, making it suitable for daily or every-other-day maintenance for heavily used items like foundation brushes. A deep clean gets into the base of the bristles or the core of the sponge to eliminate embedded product and bacteria.
For most users, a weekly deep clean for essential brushes and sponges is sufficient, while a quick clean can be done more frequently if needed. This helps maintain hygiene without over-washing, which can sometimes damage delicate brush fibers.
How Often to Clean Brushes and Sponges
Here's a handy breakdown of recommended cleaning frequencies based on tool type and usage:
- Makeup Sponges: After every use. Sponges absorb a lot of product and moisture, making them ideal breeding grounds for bacteria. A quick rinse and gentle squeeze with soap after each application is best.
- Foundation/Concealer Brushes: At least once a week. These brushes are used with wet or creamy products that can quickly harbor germs.
- Blush/Bronzer/Highlight Brushes: Every 1-2 weeks. Used with powders, they tend to dry out faster, but still need regular attention.
- Eyeshadow/Eyeliner Brushes: Every 2-3 uses. These are smaller and often used with more concentrated pigments, making them prone to buildup that can affect application.
- Powder Brushes: Every 2-4 weeks. While used with powders, they still pick up oils from the skin and need cleaning to maintain effectiveness.
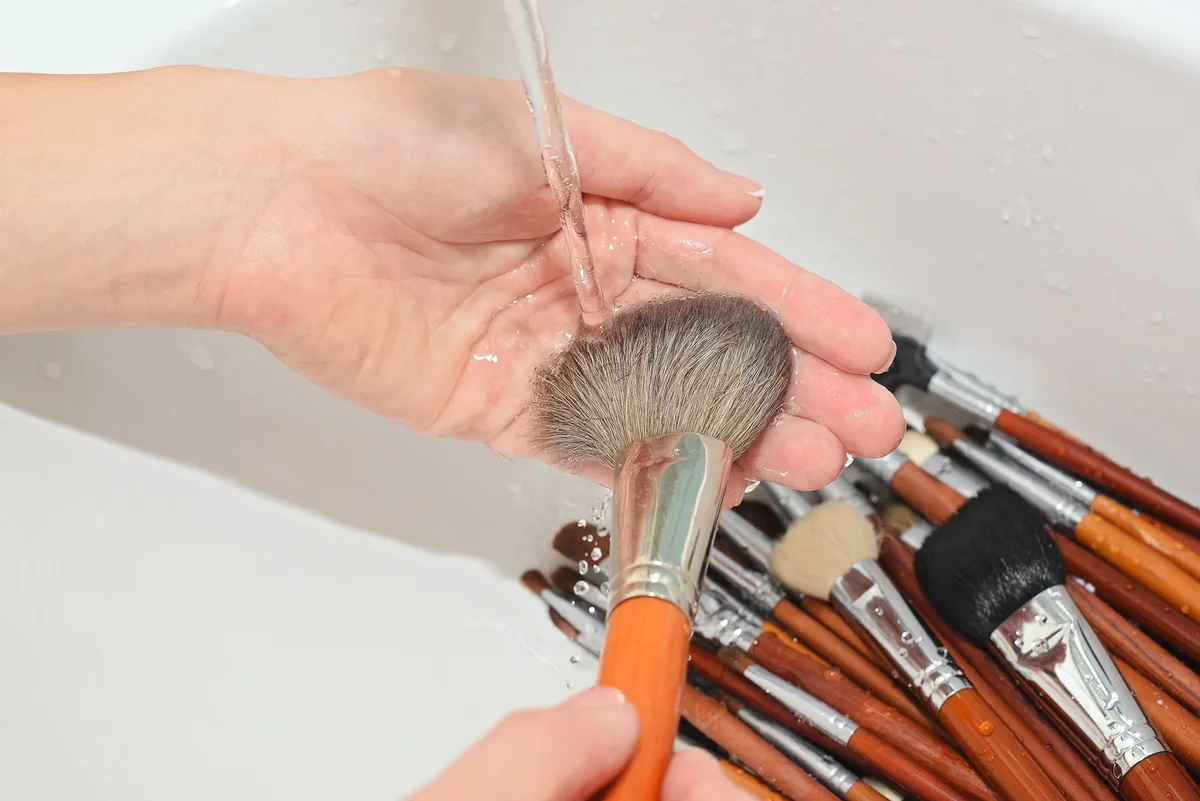
Image source: Bing (Web (fair-use with source credit))
Metal Tools & Stone Rollers: Quick Disinfecting
Tools like tweezers, eyelash curlers, and facial rollers or Gua Sha stones require a different approach. Because they are often made of non-porous materials like metal or smooth stone, they are less likely to harbor bacteria deep within them. However, they still come into contact with skin, oils, and makeup.
Regular cleaning and disinfecting are vital to prevent transferring bacteria or potential infections, especially around delicate areas like the eyes. As of 2026, most manufacturers recommend a quick clean after each use or at least weekly for disinfecting.
Tweezers, Curlers, and Gua Sha Care
These beauty implements can accumulate dried product, skin oils, and even trace amounts of blood (from plucking). For tweezers and eyelash curlers, a quick wipe with rubbing alcohol after use is a highly effective way to sanitize them. For Gua Sha stones and facial rollers, a gentle wash with mild soap and water, followed by a thorough rinse and pat-dry, is usually sufficient.
If you notice any stubborn residue, a soft cloth can help lift it. It’s crucial to ensure these tools are completely dry before storing them to prevent rust or mildew, especially for metal items.
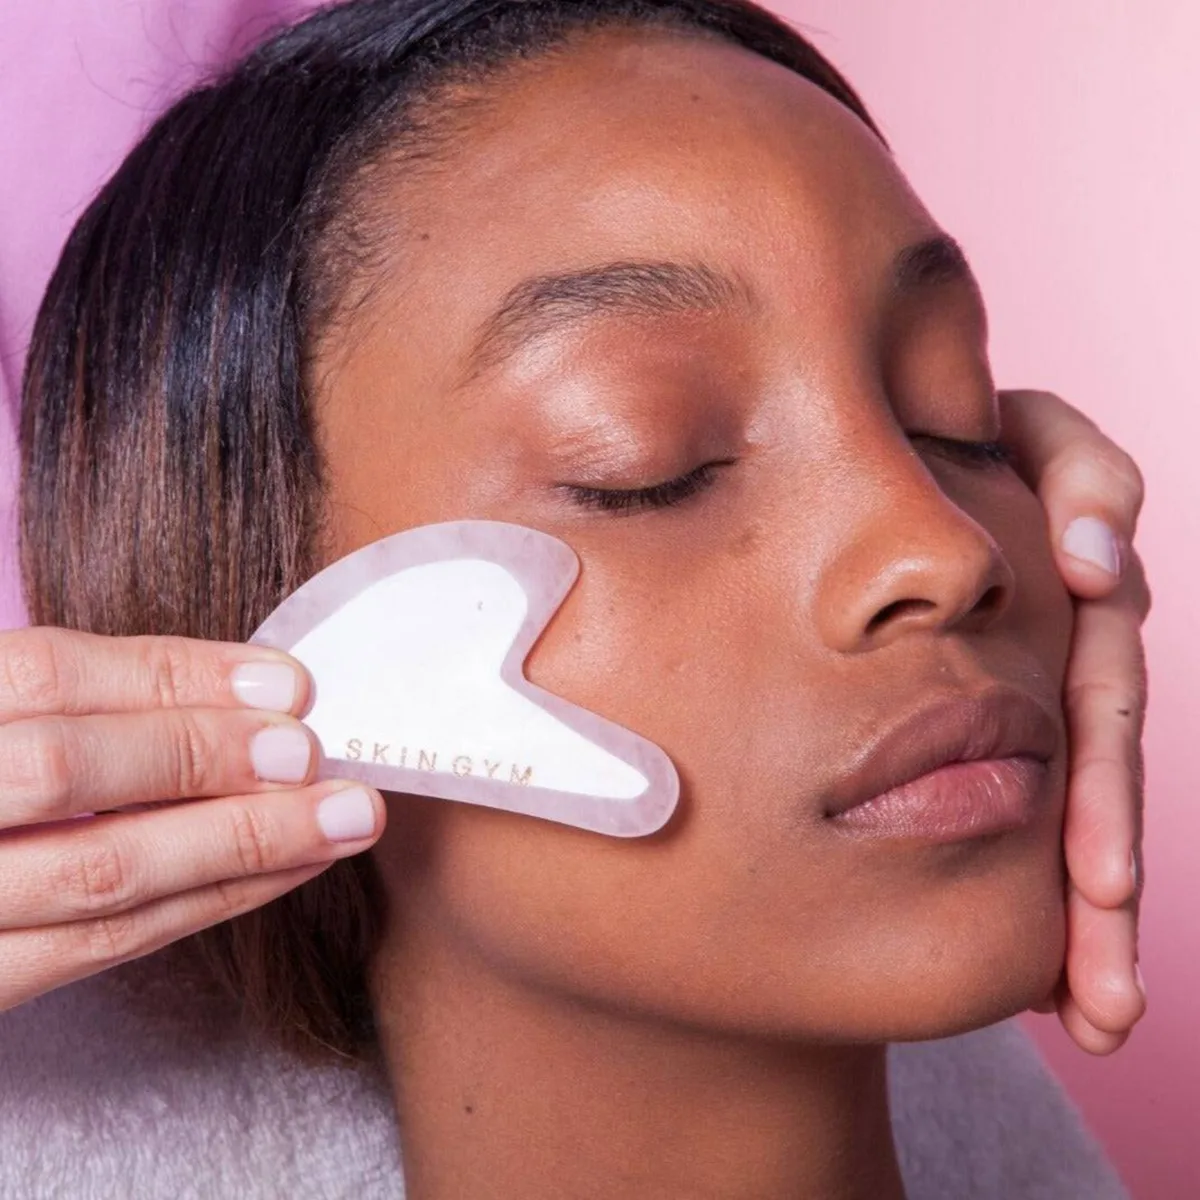
Image source: Bing (Web (fair-use with source credit))
The Best Ways to Clean Your Tools
When it comes to cleaning your beauty tools, the method you choose hinges on the material and design of the tool itself. For porous items like makeup sponges and brushes, a gentle yet effective cleansing solution is key to breaking down makeup, oils, and grime without damaging the fibers or material. For non-porous tools, the focus shifts more towards sanitization after basic cleaning.
Our research shows that using the right products and techniques ensures both hygiene and longevity for your favorite beauty gadgets.
Choosing the Right Cleaner
The type of cleaner you use can make a big difference. For makeup brushes and sponges, a gentle cleanser is paramount.
- Specialized Brush Cleaners: These are formulated to effectively break down makeup and oils while being gentle on bristles. They often come in liquid or solid bar forms.
- Mild Dish Soap or Baby Shampoo: These are cost-effective alternatives that work well. Look for formulas that are free of harsh dyes and strong fragrances.
- Rubbing Alcohol (Isopropyl Alcohol): This is your go-to for sanitizing metal tools. A concentration of 70% is generally recommended for effective disinfection.
- Mild Soap and Water: For stone or metal tools where harsh chemicals might not be necessary or advisable, a simple wash with mild soap suffices for removing surface dirt.
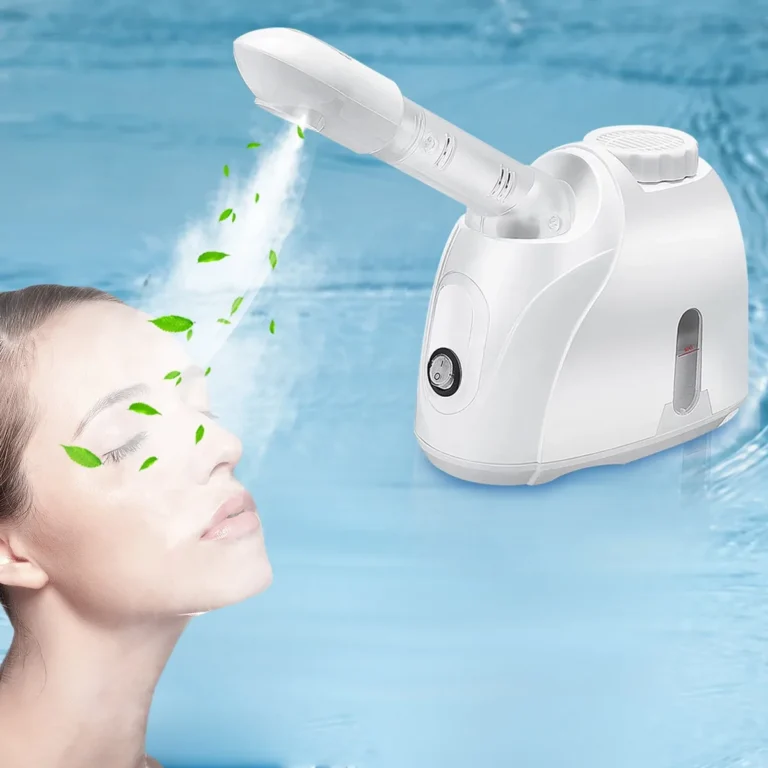
Always check manufacturer recommendations, as some specialized tools might have specific cleaning instructions to preserve their unique materials or technology. For instance, some advanced facial toning devices may require unique cleaning protocols.
Step-by-Step Cleaning for Brushes
Cleaning makeup brushes properly involves a few key steps to ensure thoroughness without damage.
- Wet the Bristles: Soak the brush head under lukewarm running water. Avoid getting the handle wet, as this can loosen the glue over time.
- Apply Cleanser: Dispense a small amount of your chosen cleaner (specialized brush cleaner, mild soap, or baby shampoo) into your palm or onto a cleaning mat.
- Work in Cleanser: Gently swirl the brush bristles into the cleanser, working it up and down the fibers. Aim to create a lather that lifts makeup and oil.
- Rinse Thoroughly: Run the brush under lukewarm water again, moving it in the same direction as the bristles. Continue rinsing until all soap residue is gone and the water runs clear.
- Remove Excess Water: Gently squeeze out excess water from the bristles with a clean towel or paper towel. Reshape the brush head to its original form.
- Air Dry: Lay brushes flat on a clean towel or use a brush drying rack so they hang bristles-down. Ensure they are completely dry before storing to prevent mold and bacteria.
Step-by-Step Cleaning for Sponges
Makeup sponges are designed to be highly absorbent, meaning they need careful cleaning to remove all trapped product and moisture.
- Wet the Sponge: Dampen the entire sponge with lukewarm water. Squeeze it a few times to ensure it's fully saturated.
- Apply Cleanser: Add a small amount of your chosen cleanser (specialized sponge cleaner, mild soap, or baby shampoo) directly onto the sponge.
- Gently Squeeze and Lather: Work the cleanser into the sponge by gently squeezing and pressing. Continue this until a rich lather forms and you can see the makeup and product being released.
- Rinse Thoroughly: Rinse the sponge under lukewarm running water. Continue to squeeze and rinse until the water runs completely clear and all soap has been removed.
- Remove Excess Water: Gently squeeze out as much water as possible. Avoid twisting or wringing the sponge, as this can damage its delicate structure.
- Air Dry: Place the sponge on a clean, dry surface or a dedicated sponge holder. Ensure it has good air circulation and is completely dry before storing it to prevent mold.
Step-by-Step Cleaning for Non-Porous Tools
Tools made from metal, plastic, or smooth stone require a straightforward cleaning and sanitizing process.
- Wipe Away Debris: Use a clean, dry cloth or tissue to remove any visible makeup, dust, or skin residue from the tool's surface.
- Wash with Soap and Water: Wash the tool under warm running water with a mild soap. This removes surface oils and general grime.
- Rinse and Dry: Rinse the tool thoroughly to remove all soap. Pat it completely dry with a clean, soft towel.
- Sanitize (Optional but Recommended): For an extra layer of hygiene, especially for tools used near eyes or on broken skin, wipe the clean, dry tool with a cotton pad soaked in 70% isopropyl alcohol. Let it air dry completely. This step is crucial for preventing the transfer of bacteria.
Common Beauty Tool Cleaning Mistakes to Sidestep
Even with the best intentions, it's easy to make mistakes when cleaning beauty tools that can actually do more harm than good. These errors can compromise the tool's integrity, reduce its lifespan, or even negate the cleaning efforts. For instance, using hot water can degrade adhesives in brush ferrules, while not drying tools completely invites bacterial growth.
Being aware of these common pitfalls helps you avoid them and ensure your tools remain hygienic and effective.
What NOT to Do When Cleaning Your Tools
Here are some critical errors to avoid to keep your beauty tools in optimal condition:
- Using Hot Water: Hot water can melt the glue that holds brush bristles together, causing them to loosen and fall out. Stick to lukewarm or cool water.
- Soaking Brushes for Extended Periods: Leaving brushes submerged for too long, especially in water, can also weaken the adhesive and damage the bristles. Quick, efficient washing is best.
- Not Drying Tools Completely: Damp tools are a breeding ground for bacteria and mold. Always ensure brushes, sponges, and metal tools are bone dry before storing. This can take 24-48 hours for brushes to fully air dry.
- Using Harsh Chemicals: Avoid using strong solvents, acetone, or abrasive cleaners. These can damage brush fibers, coatings on metal tools, or the surface of stone implements.
- Air-Drying Brushes Upright: Storing brushes with the bristles pointing up allows water to seep into the ferrule and down the handle, weakening the glue and potentially damaging the handle material over time. Always dry them flat or hanging bristles-down.
- Skipping Regular Cleaning: Letting makeup and oil build up is the fastest way to turn your tools into a germ magnet. A consistent cleaning schedule is your best defense.
- Sharing Dirty Tools: This is a major no-no. Sharing un-sanitized beauty tools can easily transfer bacteria and infections between individuals. It’s best to maintain your own set and clean them diligently, as discussed in articles on what beauty habits should I develop.
Benefits of Pristine Beauty Tools
Clean beauty tools offer tangible advantages that go beyond just looking good. When your brushes and sponges are regularly cleaned, they perform better, leading to a smoother and more even makeup application. Products deposit onto the skin more effectively, meaning you might use less product overall, which aligns with how can I create a beauty routine on a budget.
Furthermore, consistently clean tools reduce the risk of skin issues like acne and irritation, contributing to healthier-looking skin. This proactive approach ensures your tools serve you well for longer.
Regularly maintaining your beauty implements is a key component of an effective skincare and makeup routine. It means you’re less likely to encounter issues like clogged pores from dirty brushes or cross-contamination from shared tools. This attention to detail directly supports how can I protect my skin every day and contributes to an overall healthier complexion.
Investing a few minutes in cleaning pays off significantly in results and skin health.
Frequently Asked Questions About Beauty Tool Cleaning
How long does it take to clean makeup brushes?
A quick clean for makeup brushes usually takes about 5 minutes per brush, focusing on surface residue. A thorough deep clean, including rinsing and drying, can take up to 20-30 minutes for a set of brushes, with drying time being the longest factor, often requiring 24-48 hours to fully air dry.
Can I use hand sanitizer to clean my beauty tools?
While hand sanitizer contains alcohol and can disinfect, it’s generally not recommended as a primary cleaning method for beauty tools. Its formulation can sometimes leave a residue that might affect product application or be irritating to the skin, especially on brushes. Rubbing alcohol is a more direct and effective sanitizer for this purpose.
How do I know if my beauty tools are too old to clean?
If brush bristles are frayed, misshapen, shedding excessively, or the ferrule (the metal part) is loose or corroded, it's likely time for a replacement. For sponges, if they are torn, crumbling, stained permanently, or retain a foul odor even after cleaning, they should be discarded. Expired beauty products can also cause problems, so knowing when to replace items is key.
Should I clean my facial roller every time I use it?
Yes, it’s highly recommended to clean your facial roller or Gua Sha stone after each use. This removes any residual product, skin oils, or bacteria that may have accumulated. A quick wipe-down with a damp cloth followed by mild soap and water is usually sufficient.
What happens if I don't clean my beauty tools?
Failing to clean beauty tools can lead to a buildup of bacteria, dead skin cells, and makeup residue. This can cause clogged pores, breakouts, acne, and even skin infections. It also compromises the performance of your makeup and the effectiveness of your skincare routine.
Your Beauty Tool Cleaning Decision Guide
Deciding how to clean your beauty tools boils down to their material and intended use. If you're dealing with porous items like makeup sponges or brushes, a gentle cleansing solution that breaks down makeup and oil without damaging fibers is essential. For non-porous tools such as tweezers or facial rollers, the focus shifts to effective sanitization after a basic clean.
This workflow guides you based on the specific tool in question, ensuring optimal hygiene and performance.
When you need to clean beauty tools, consider the following:
- If the tool is porous (e.g., makeup sponge, brush): Always use a mild cleanser and lukewarm water. Rinse thoroughly and allow to air dry completely. Consider specialized brush cleaners for better fiber care.
- If the tool is non-porous (e.g., metal tweezers, stone roller): Wash with mild soap and water. For sanitization, wipe down with 70% isopropyl alcohol after cleaning and drying.
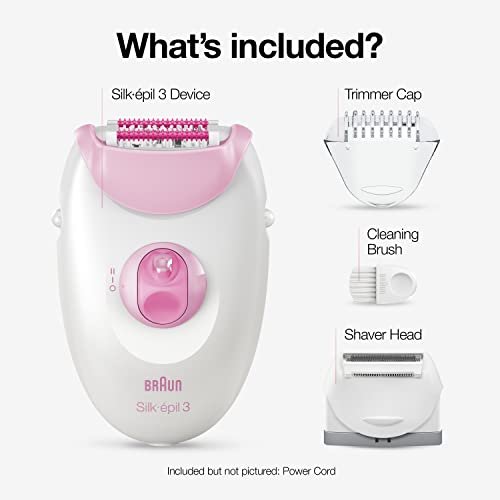
- If the tool is delicate or electronic: Always refer to the manufacturer's specific care instructions to avoid damage. These often require specific cleaning agents or methods.
By following these distinctions, you can tailor your cleaning routine to each specific tool, ensuring they remain hygienic, effective, and long-lasting. This systematic approach helps maintain a healthy complexion and enhances the performance of your beauty products, supporting a more effective overall routine.