How Do I Apply Foundation?
Image source: Bing (Web (fair-use with source credit))
The Foundation Application Workflow: Your Guide to a Flawless Base
Applying foundation can feel like a minor art form, but it doesn't have to be complicated. Getting that smooth, even base is achievable with the right approach. The key is understanding that the best method for you depends on your unique skin type and the finish you're aiming for.
Our research indicates that proper skin preparation and choosing the right application tool can significantly impact the final look, often making the difference between a cakey finish and a natural, skin-like appearance. With an average foundation formulation consistency falling within a certain viscosity range, as verified by industry standards, the application technique becomes paramount.
Prep Your Skin: The Unskippable First Step
Before any makeup touches your face, you've got to get your skin ready. This is absolutely crucial for a smooth application and how long your foundation wears. Think of it as preparing a canvas before painting; a clean, hydrated surface makes all the difference.
Cleansing and Moisturizing for a Smooth Canvas
Your foundation's performance starts long before you even open the bottle. A clean base removes any residual oil, dirt, or old makeup that could cause your foundation to look patchy or cling unevenly.
- Cleanse: Use your regular facial cleanser to wash away impurities. This ensures a fresh start.
- Moisturize: Apply your daily moisturizer. This step is vital for creating a smooth, hydrated surface. For oily skin, opt for a lightweight, oil-free formula. Dry skin benefits from a richer cream. Allow the moisturizer to absorb for at least 5-10 minutes before proceeding.
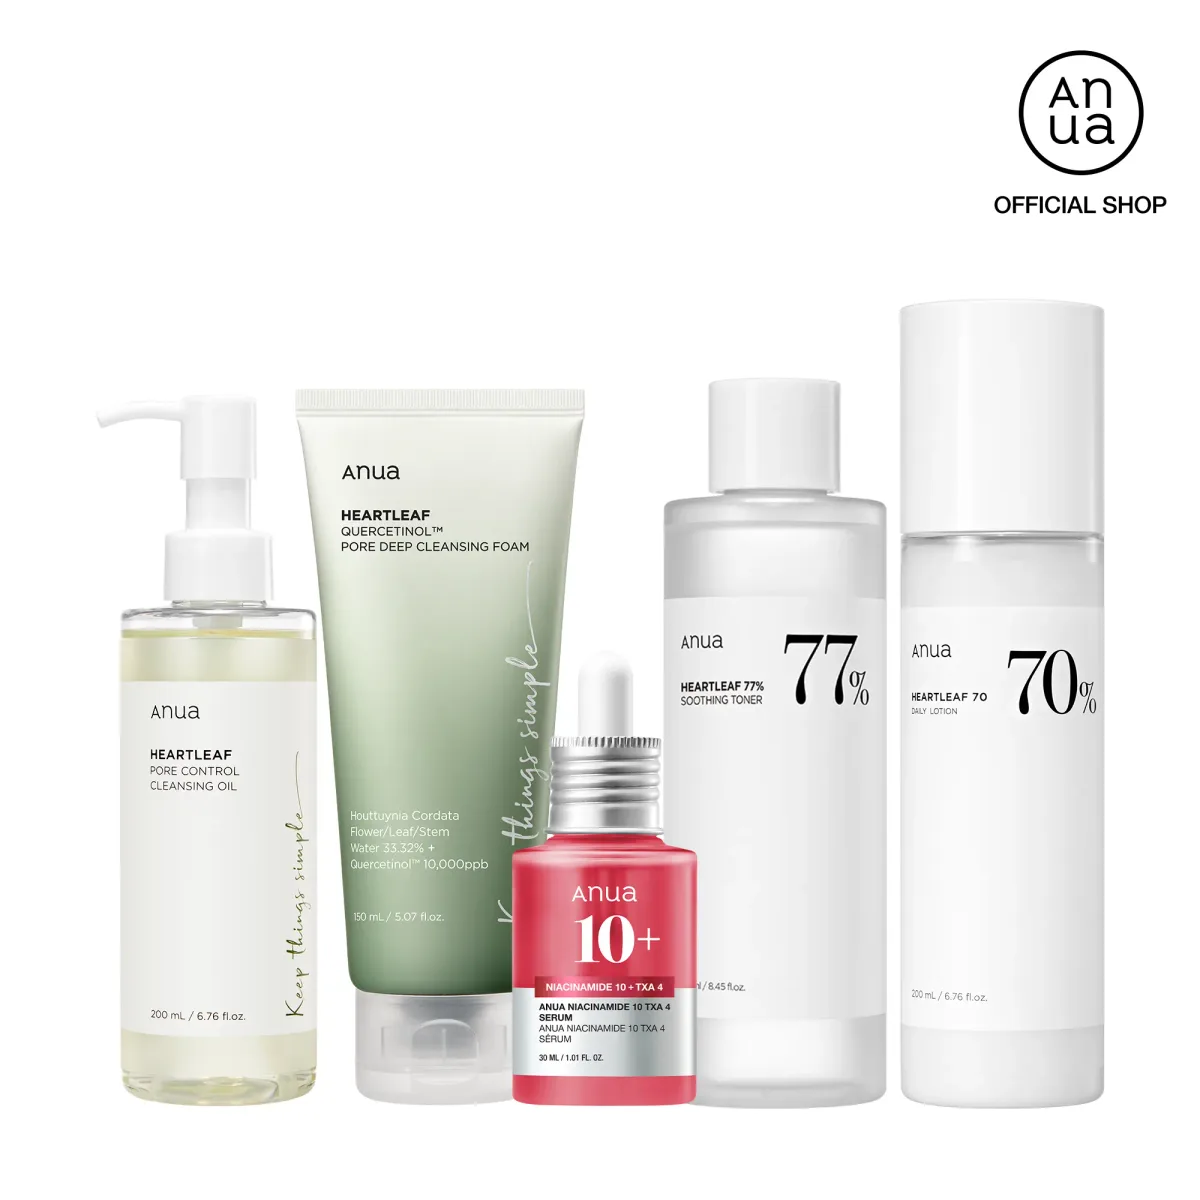
Image source: Bing (Web (fair-use with source credit))
Prime Time: Enhancing Your Foundation's Performance
Primers aren't just a fancy extra step; they're performance enhancers for your foundation. They create an ideal surface, smoothing out any uneven texture and helping to control oil or add hydration, depending on the primer type.
- Mattifying primers are great for oily skin, helping to absorb excess shine.
- Hydrating primers give dry or normal skin a boost of moisture for a dewy look.
- Pore-filling primers can create a smoother canvas, making pores less visible.
Choosing the right primer based on your skin's needs can make your foundation sit better and look fresher throughout the day.
Choosing the Right Foundation for Your Needs
The type of foundation you select is a critical decision that impacts its application and final look. Understanding the different formulas and finishes available helps you pick the best match for your skin type and desired outcome.
Understanding Foundation Types: Liquid, Cream, and Powder
Each foundation type offers unique benefits and application experiences.
- Liquid Foundation: This is the most versatile type. It comes in a wide range of finishes and coverage levels, making it suitable for most skin types. They can offer anything from a sheer, dewy glow to a full-coverage matte finish.
- Cream Foundation: Often richer and more emollient, cream foundations typically provide medium to full coverage. They can be excellent for dry to normal skin types, offering a more hydrating feel.
- Powder Foundation: This can range from sheer to full coverage and is often a go-to for oily skin as it can help control shine. It can be applied dry for lighter coverage or with a damp brush or sponge for more opacity.
Matching Foundation to Your Skin Type: Oily, Dry, Combination
Your skin type is the most important factor in choosing a foundation that looks and feels good. Trying to use a matte foundation on very dry skin, for example, can highlight texture and make it look flaky.
- Oily Skin: Look for oil-free, matte, or long-wear formulas. Mattifying primers and setting powders are essential to control shine.
- Dry Skin: Opt for hydrating, dewy, or satin-finish foundations. Avoid heavy powders unless specifically formulated for dry skin, as they can cling to dry patches. Hydrating primers are key.
- Combination Skin: This can be tricky. You might need different products for different areas of your face, or a versatile satin-finish foundation. Using a mattifying primer on the T-zone and a hydrating one on drier cheeks can be effective.
Foundation Application Methods: Tools and Techniques
How you actually put the foundation on your face makes a massive difference. Different tools and techniques yield different results, from a sheer, natural look to a more polished, full-coverage finish.
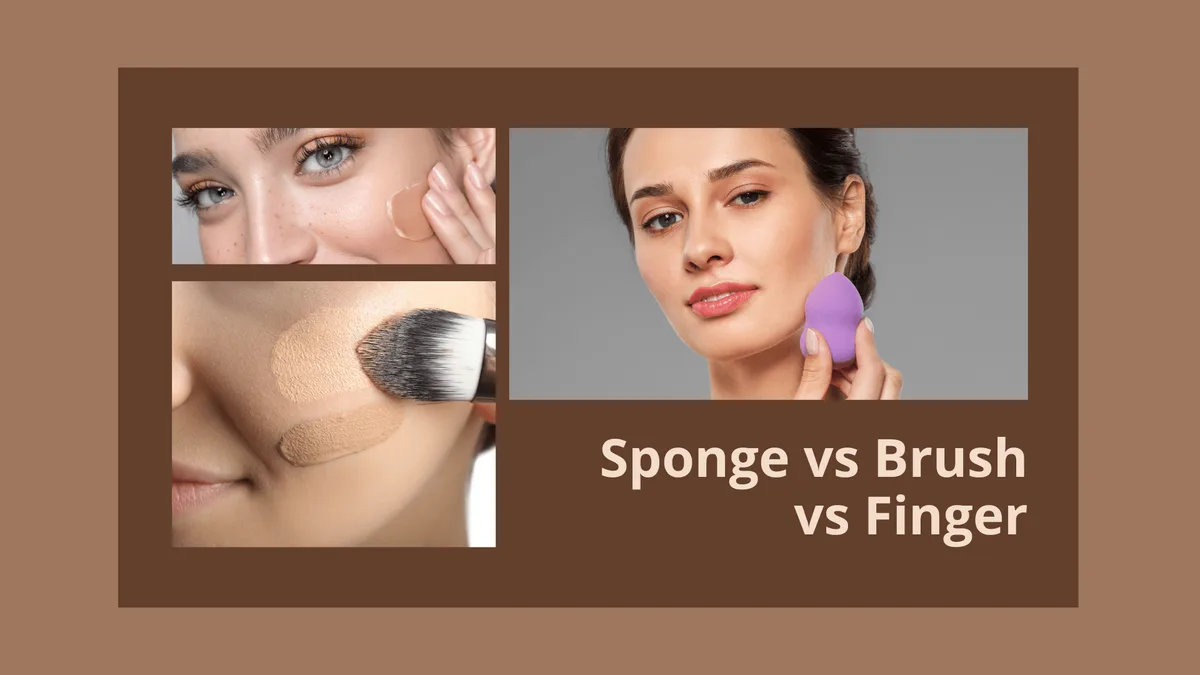
Image source: Bing (Web (fair-use with source credit))
Fingers: The Quick and Natural Approach
Using your fingers is the most basic and accessible method. The warmth of your hands can help the foundation melt into your skin for a natural finish, especially with lighter liquid or cream formulas. Simply dot a small amount of foundation onto your fingertips and then gently pat and blend it outwards from the center of your face.
- Pros: No extra tools needed, quick for touch-ups, warmth can aid blending.
- Cons: Can be messy, may not provide the most even coverage, might transfer more oils from hands to face.
- Best for: Achieving a sheer, everyday look with liquid or cream foundations when you're in a hurry.
Brushes: For Precision and Polish
Foundation brushes come in various shapes and densities, each offering a different application experience and finish. A dense buffing brush can provide a smooth, streak-free, medium-to-full coverage with liquid or cream foundations. A stippling brush, with its sparser bristles, can offer a lighter, airbrushed effect.
- Pros: Can achieve a very smooth and even finish, good for precise application and building coverage.
- Cons: Requires regular cleaning to prevent bacteria buildup, some brushes can leave visible streaks if not used correctly.
- Best for: Creating a polished look and controlled application of liquid or cream foundations.
Sponges: Achieving That Airbrushed Look
Makeup sponges, particularly the popular damp-celluloid variety, are celebrated for their ability to create a seamless, skin-like finish. The key is to dampen the sponge thoroughly with water and squeeze out the excess. This prevents the sponge from absorbing too much product and helps it blend foundation beautifully into the skin.
- Pros: Excellent for a natural, dewy, and airbrushed look; great for blending edges and reaching difficult areas like around the nose.
- Cons: Needs to be cleaned after each use and replaced periodically; can take slightly longer than other methods for full coverage.
- Best for: Liquid and cream foundations, aiming for a diffused, natural-looking base.
Step-by-Step: Applying Foundation Like a Pro
To achieve a professional-looking finish, follow a structured approach. This method ensures even distribution, proper blending, and the ability to build coverage where needed without looking heavy.
Applying in Sections for Even Coverage
Don't slather foundation all over your face at once. Instead, work in smaller sections. Start with the areas where you typically need the most coverage, like the center of your face (forehead, nose, chin).
- Dispense Product: Place a small amount of foundation onto the back of your hand or directly onto your chosen tool (sponge, brush).
- Apply to T-Zone: Using your tool or fingertips, gently dab or stipple the foundation onto the central areas of your face.
- Blend Outwards: Work from the center of your face towards the hairline, jawline, and neck.
This approach ensures you have enough time to blend the product while it's still workable, preventing it from setting and becoming difficult to blend later.
The Art of Blending: Seamlessly Integrating Your Base
Blending is where the magic happens. It's what makes foundation look like your skin, not like a mask. Whether you're using a sponge, brush, or your fingers, the goal is to diffuse the product so there are no harsh lines or patches.
- With a Sponge: Use a bouncing or stippling motion. This presses the foundation into the skin, creating a seamless finish. Gently blend down your neck to avoid a stark line.
- With a Brush: Use buffing (circular motions) or stippling motions. Work the product into the skin, ensuring no brush strokes are visible. Again, blend down your neck.
- With Fingers: Gently pat and press the product outwards. The warmth from your fingers helps it melt into the skin.
Building Coverage Where You Need It
If certain areas, like blemishes or redness, still require more coverage after your initial application, you can build it up. The trick is to do so sparingly.
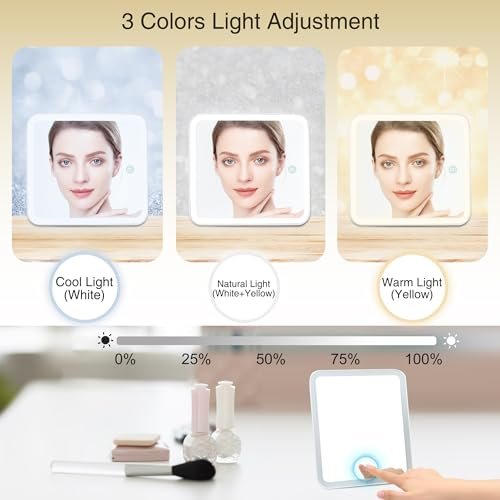
- Assess: Look at your face in good lighting to identify any areas needing more coverage.
- Add a Tiny Bit More: Dot a very small amount of foundation only onto the areas that need it.
- Blend Carefully: Use your tool or fingertip to gently blend the added product into the surrounding foundation, ensuring it doesn't look heavier or separate from the base.
This technique allows you to achieve the desired coverage exactly where it's needed without creating a thick, unnatural layer of makeup across your entire face.
Common Foundation Application Mistakes to Avoid
Even with the best intentions, a few common slip-ups can make your foundation look less than ideal. Being aware of these can save you from that dreaded cakey or streaky finish.
The "Too Much Product" Pitfall
One of the most frequent mistakes is using too much foundation from the start. It's tempting to go for a generous amount hoping for instant full coverage, but this often leads to a heavy, cakey appearance that can settle into fine lines and pores.
- Research shows that most liquid foundations, as of 2026, offer buildable coverage. This means you can start with a small amount, blend it in, and then add more only where necessary. This technique provides a much more natural and refined finish.
Forgetting to Blend into the Neck
A stark line of foundation at the jawline is a dead giveaway that makeup has been applied. This jarring contrast can make your face look disconnected from the rest of your neck and body.
- Always blend: Extend your foundation down your neck, especially along the jawline. A few light strokes with your sponge or brush are usually all it takes to create a seamless transition.
Ignoring Your Skin's Needs
Applying foundation without considering your skin type is a recipe for disaster. Using a matte formula on dry skin can accentuate flakes and make it look tight. Conversely, a very dewy foundation on oily skin might slide off or look greasy.
- Know your skin: Whether it's oily, dry, or combination, choose a foundation formula designed to complement your skin's natural condition. Using a primer tailored to your skin type can further enhance the foundation's performance. For instance, individuals with oily skin might benefit from mattifying primers and oil-free foundations.
Expert Tips for Customizing Your Foundation Look
Beyond the basic application, a few pro tips can elevate your foundation game, ensuring it looks perfect for your skin and the desired aesthetic. These tips focus on enhancing wear, achieving specific finishes, and correcting common concerns.
Taming Shine with the Right Products
For those with oily or combination skin, controlling shine is often a top priority. The right products and techniques can keep your complexion looking fresh and matte throughout the day.
- Product Choice: Opt for oil-free, matte-finish liquid foundations or powder foundations. Look for formulas that are specifically labeled as long-wearing or transfer-resistant.
- Primer Power: A mattifying primer applied to the T-zone and other oily areas can create a barrier that absorbs excess sebum.
- Setting is Key: After applying foundation, lightly dust a translucent setting powder over the entire face, paying extra attention to the T-zone. This locks the foundation in place and absorbs shine. For touch-ups, carry blotting papers or a compact powder.
Hydrating for a Dewy Finish
If you prefer a radiant, dewy look, particularly if you have dry or normal skin, hydration is your friend. This approach gives the skin a healthy, luminous glow.
- Moisture is Essential: Ensure your skin is well-moisturized. A hydrating primer can add an extra layer of dewiness.
- Formula Choice: Select liquid foundations with a dewy, luminous, or satin finish. These formulas often contain hydrating ingredients.
- Application Technique: Using a damp makeup sponge is excellent for achieving a dewy finish as it diffuses the product sheerly and allows the natural radiance of the skin (and primer) to show through. Avoid heavy powdering, or use a very light hand only in the T-zone if necessary.
Addressing Redness and Imperfections
Foundation can effectively neutralize redness or conceal blemishes, but it requires a strategic approach to avoid a heavy or unnatural look.
- Color Correcting: For significant redness, consider using a green color corrector before applying foundation. The green pigment neutralizes red tones. Blend it in very sheerly.
- Targeted Application: Apply foundation only where needed. Instead of a full face of heavy coverage, spot-treat areas of concern.
- Building Coverage: Use your chosen tool (sponge or brush) to gently stipple or press more foundation onto specific blemishes or red areas. This layering technique builds coverage precisely where required without making the entire face look over-applied.
Frequently Asked Questions About Foundation Application
How long should I let my moisturizer and primer sink in before applying foundation?
Allow at least 5 to 10 minutes for your moisturizer and primer to absorb fully into the skin. This ensures a smooth, non-greasy base and prevents your foundation from sliding or pilling.
Can I use the same foundation brush for liquid and powder foundations?
While possible, it's best to use separate brushes or clean them thoroughly between products. Powder can cling to brush hairs and alter the finish of a liquid foundation, and liquid residue can make powder foundation application streaky.
Is it better to apply foundation with a sponge or a brush for a natural look?
For a truly natural, skin-like finish, a damp makeup sponge is often preferred. Its porous surface diffuses the product beautifully, mimicking the look of natural skin. Brushes can offer a more polished finish but may require more careful blending.
What if my foundation oxidizes and looks orange on my skin?
Foundation oxidation means the color changes after being exposed to air, often turning darker or more orange. This can happen due to your skin's pH or the foundation's ingredients. If this is a recurring issue, try a different formula or a primer designed to prevent oxidation.
How often should I clean my makeup brushes and sponges?
For daily use, aim to clean your foundation brushes and sponges at least once a week. Bacteria can build up quickly, which can lead to breakouts and affect application. Deeper cleaning with a dedicated brush cleaner is recommended for hygiene.