How Do I Use a Hair Straightener?
Figuring out how to use a hair straightener effectively can feel like a puzzle, but it doesn't have to be complicated. When done right, you can achieve that sleek, polished look without causing damage. We've gathered insights to help you master the technique for smooth, professional-looking results every time.
This guide breaks down the process, focusing on preparation, correct tool usage, and avoiding common pitfalls. For instance, manufacturer specifications often indicate optimal plate materials like ceramic for even heat distribution, a feature many tools highlight. Understanding these basics is your first step towards flawless styling.
Prep Your Hair: The Foundation for Smooth Styling
Why Prep Matters: Avoiding Damage and Frizz
Getting your hair ready before heat styling is absolutely crucial. Skipping this step is like going out into a blizzard without a coat, you're just asking for trouble. When hair isn't properly prepared, the heat from a straightener can zap its moisture, leading to dryness, breakage, and that dreaded frizz.
Our research confirms that applying a good heat protectant is the single most effective way to create a barrier against heat damage. This barrier helps the hair shaft withstand the high temperatures without compromising its integrity.
Your Essential Pre-Straightening Checklist
Before you even think about plugging in your flat iron, run through this quick checklist. It ensures your hair is in the best condition to receive heat.
- Clean and Completely Dry Hair: Never attempt to straighten damp or wet hair. The moisture in your hair will turn to steam when it hits the hot plates, causing significant damage, think boiling water on delicate strands. Hair must be 100% dry.
- Heat Protectant Application: This is non-negotiable. Look for a heat protectant spray or serum. Many formulas contain silicones that coat the hair shaft, reducing friction and shielding it from temperatures that can reach up to 400°F (200°C).
- Thorough Detangling: Use a wide-tooth comb or a good brush to remove all knots and tangles. Trying to straighten snags will pull and break your hair.
Understanding Your Hair Straightener: What You Need to Know
Key Straightener Features and Their Impact
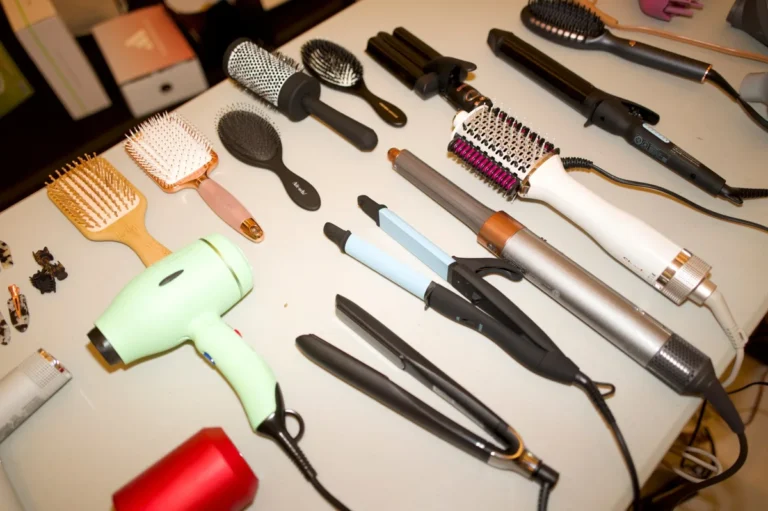
When you're looking at a hair straightener, a few features stand out that really affect how well it works and how it treats your hair. The plates, often made of ceramic, are designed to heat up evenly. This is important because hot spots can scorch sections of hair, while uneven heat means you might need multiple passes.
The width of the plates also matters; wider plates are generally better for thicker, longer hair as they can grab more hair at once, potentially reducing styling time.
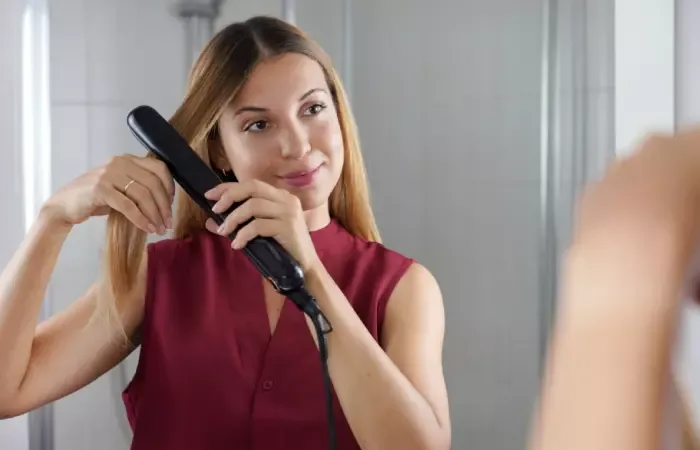
Image source: Bing (Web (fair-use with source credit))
Temperature Settings: Finding Your Sweet Spot
One of the most critical features on a hair straightener is its adjustable temperature control. Using the right heat setting is vital to prevent damage. Manufacturer specifications often suggest:
- Fine or Damaged Hair: Start low, around 250°F to 300°F (120°C to 150°C).
- Normal Hair: Aim for 300°F to 350°F (150°C to 175°C).
- Thick or Coarse Hair: You might need up to 375°F to 400°F (190°C to 200°C), but always begin lower and increase gradually if needed.
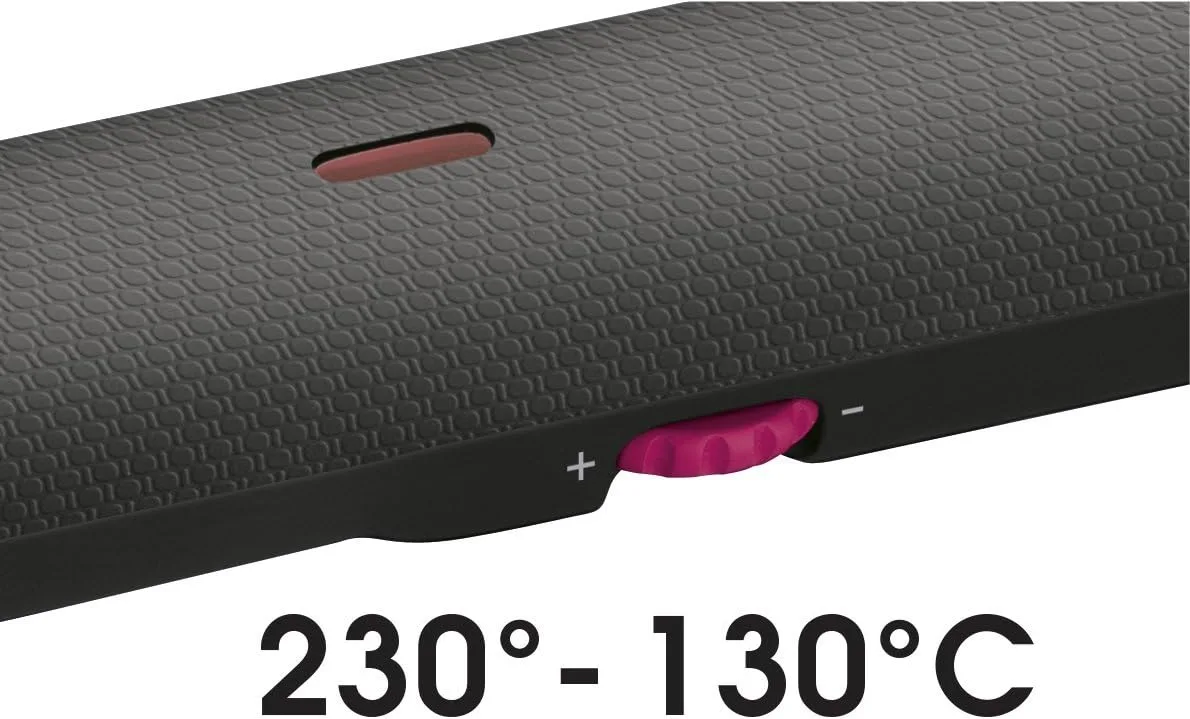
Image source: Bing (Web (fair-use with source credit))
Overheating your hair can lead to irreversible damage, making it brittle and prone to breakage. It’s always best to start with a lower temperature and test it on a small, inconspicuous section of hair to see how it responds.
The Step-by-Step Guide to Straightening Your Hair
Sectioning: The Secret to Even Results
To achieve salon-quality sleekness, dividing your hair into manageable sections is a must. This ensures that every single strand gets styled properly without you having to go over the same area multiple times. Start by clipping your hair up, working from the bottom layers upwards.
You’ll want to create sections that are about as wide as your straightener's plates and not too thick. Think of it like painting a wall; you work in small, uniform strokes to get an even finish.
Image source: Bing (Web (fair-use with source credit))
- Divide Hair: Use clips to separate hair into at least four to six sections.
- Work in Layers: Start with the very bottom layer closest to your neck.
- Thin Strands: From each section, pull out a thin strand, no wider than your thumb. This small size is key to getting the heat to penetrate and straighten effectively.
The Perfect Glide: Technique for Sleekness
Once you have your section and your straightener is heated to the correct temperature, it’s time for the glide. Place the strand of hair between the heated plates, positioning it close to your roots but leaving a little space to avoid burning your scalp. Gently clamp down, you don't need to squeeze with all your might.
Now, in one smooth, steady motion, pull the straightener down the length of the hair strand towards the ends. Avoid stopping or zigzagging; a slow, consistent pull is what works best for a smooth finish.
Handling Stubborn Strands and Ends
If you encounter a strand that isn't quite as straight as you'd like after the first pass, resist the urge to clamp down harder or immediately go over it again. Instead, try taking an even smaller subsection of that stubborn piece and gliding the straightener through it. For the very ends of your hair, you can often get a nice, polished look by adding a slight bend outwards or inwards with the straightener as you finish the glide.
This small detail can make a big difference in the overall appearance.
Common Hair Straightener Mistakes to Sidestep
Heat Damage Disasters and How to Avoid Them
The most significant risk when using a hair straightener is heat damage. This happens when hair is exposed to temperatures that are too high or for too long. Signs of heat damage include dryness, brittleness, split ends, and a straw-like texture.
To avoid this, always start with completely dry hair and apply a heat protectant spray or serum. Manufacturer specifications for many modern straighteners, as of 2026, suggest operating temperatures below 400°F (200°C) for most hair types, with lower settings for fine or processed hair.
Frizz Fighters: What Not to Do
Frizz is often a sign that hair is dry or that the cuticle (the outer layer of the hair strand) is raised. Trying to straighten damp hair is a primary cause, as the trapped moisture sizzles and expands. Another common mistake is using a straightener with damaged or uneven plates, which can snag and break hair, leading to frizz.
Also, rushing the process and not allowing the straightener to heat up fully can lead to needing multiple passes, increasing heat exposure and damage.
Expert Tips for Salon-Worthy Results at Home
Advanced Techniques for Different Hair Types
Achieving that smooth, straight look isn't one-size-fits-all. For finer hair, lower temperatures and a slightly quicker glide can work well. If you have thicker, coarser hair, you might need to use a slightly higher temperature and ensure your sections are very thin for thorough straightening.
Some users find a slight twist of the wrist as they glide can help smooth out particularly unruly sections. Remember, the goal is to get the hair straight in one or two slow, controlled passes, not by aggressively yanking the tool down your hair.
Maintaining Your Straightened Style
Once your hair is perfectly straight, you'll want it to last. To help your style hold up, allow your hair to cool completely before touching it too much. Brushing or running your fingers through it while it's still warm can disrupt the straightened cuticle and lead to frizz.
For added insurance against humidity or flyaways, a very light mist of a shine serum or a flexible-hold hairspray can be beneficial. However, avoid heavy products that can weigh your hair down or make it look greasy.
Frequently Asked Questions About Using Hair Straighteners
How long does it take to straighten my hair?
The time it takes depends heavily on your hair's thickness and length, and how much hair you section at a time. Generally, for medium-length, medium-thick hair, you can expect it to take anywhere from 15 to 45 minutes. Thicker or longer hair will naturally take more time.
Can I straighten my hair every day?
Daily straightening is not recommended for most hair types. The constant heat exposure can lead to significant damage over time, making hair dry, brittle, and prone to breakage. Limiting heat styling to a few times a week, or even less, is best for maintaining hair health.
What should I do if my straightener is pulling my hair?
If your straightener is snagging or pulling your hair, stop immediately. This usually indicates that your hair isn't properly detangled, your sections are too thick, or the plates might have nicks or are not closing smoothly. Ensure your hair is detangled and try taking thinner sections.
How do I clean my hair straightener?
To clean your straightener, unplug it and let it cool completely. Wipe down the plates with a slightly damp cloth to remove any product residue. For tougher buildup, a small amount of isopropyl alcohol on a cloth can help, but make sure to wipe it clean with a damp cloth afterward and let it dry fully before storing.
Is it better to use a ceramic or titanium straightener?
Ceramic straighteners tend to heat more evenly and are generally gentler on hair, making them a good all-around choice. Titanium plates heat up faster and hotter, which can be beneficial for very thick or coarse hair that's difficult to straighten, but they carry a higher risk of heat damage if not used carefully.