How Do I Clean a Facial Cleansing Brush?
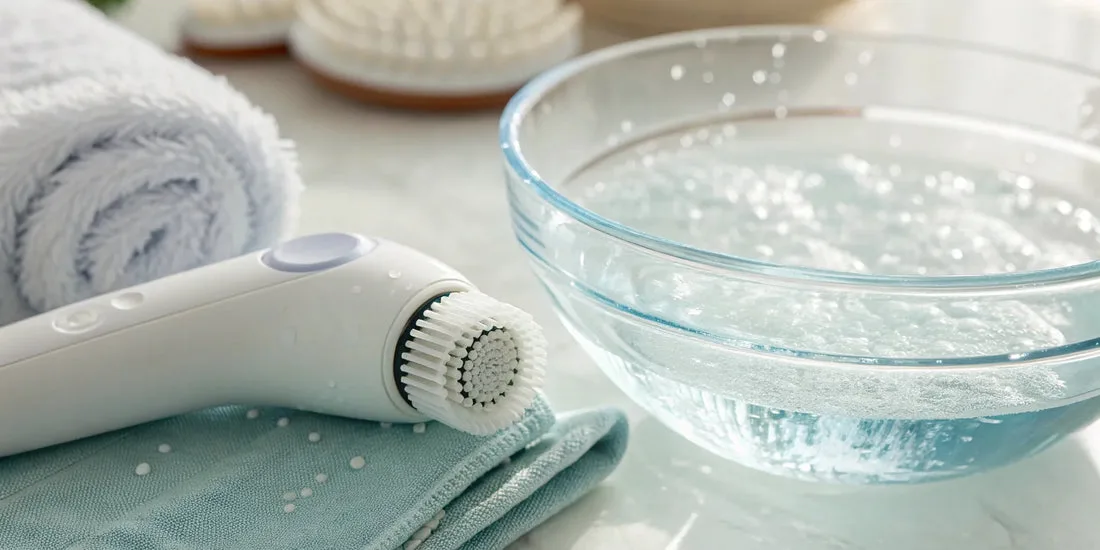
Image source: Bing (Web (fair-use with source credit))
How do I clean a facial cleansing brush?
Keeping your facial cleansing brush clean is crucial for both hygiene and skin health. Skipping this simple maintenance can turn a helpful tool into a breeding ground for bacteria, leading to breakouts and irritation. We're going to walk you through the exact steps to ensure your brush remains a star player in your skincare routine.
As of 2026, manufacturer specifications for most facial cleansing brushes recommend a weekly deep clean, with a daily rinse after each use. Following these guidelines helps maintain the brush's efficacy and prevents unwanted microbial growth. Let's get into the specifics.
Quick Answer
To clean a facial cleansing brush, rinse it with lukewarm water after each use. Apply a small amount of gentle facial cleanser to the brush head and work into a lather with your fingers. Rinse thoroughly until the water runs clear.
For silicone brushes, weekly sanitization via boiling water (5 minutes) is effective; for bristle brushes, use rubbing alcohol or an antibacterial spray. Always air dry the brush head completely.
Why Cleaning Your Facial Cleansing Brush Matters
Think about what your facial cleansing brush does: it buffs away makeup, dirt, oil, and dead skin cells. All that residue has to go somewhere, and if it's not thoroughly rinsed and removed, it can start to accumulate on the brush head. This build-up isn't just unsightly; it's a prime spot for bacteria and mold to thrive.
Aggregates of user feedback report that improper cleaning can lead to unwelcome skin reactions. When you use a dirty brush, you risk reintroducing those trapped impurities back onto your skin, potentially causing new breakouts or exacerbating existing conditions. Regular, proper cleaning not only keeps your skin happy but also ensures your brush performs at its best for longer.
It’s a simple habit that has a significant impact on your overall complexion.
Your Step-by-Step Cleaning Workflow
Following a consistent cleaning routine will keep your facial cleansing brush in top condition. This workflow is designed to be efficient yet thorough, ensuring all impurities are removed and the brush is sanitized properly.
Quick Rinse & Gentle Lathering
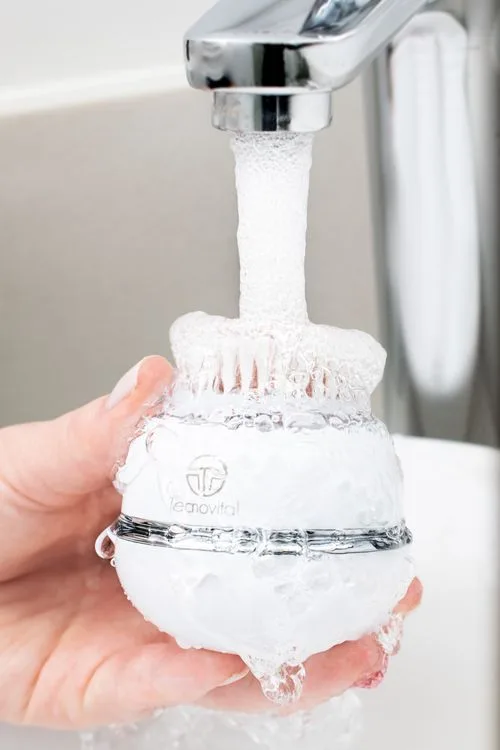
After each use, immediately rinse the brush head under lukewarm water. This initial step washes away the majority of surface-level makeup and cleanser residue. Next, apply a small amount, about a pea-sized drop, of a mild, non-abrasive facial cleanser directly onto the damp brush head.
Gently massage the cleanser into the bristles or silicone with your fingertips to create a soft lather.
Thorough Washing and Rinsing
For bristle brushes, you can gently rub the bristles against your palm or each other to work the cleanser in. For silicone brushes, a gentle circular motion with your fingers is sufficient. The goal here is to dislodge any trapped product or debris without damaging the brush material.
Once lathered, rinse the brush head thoroughly under lukewarm running water. Continue rinsing until the water runs completely clear and no soap suds remain.
Sanitizing Your Brush Head (When & How)
While daily rinsing is essential, a deeper sanitization is recommended at least once a week. This step is crucial for eliminating lingering bacteria.
- For Silicone Brushes: You can safely submerge silicone brush heads in boiling water for approximately 5 minutes. Use caution when removing them, as they will be very hot. This method is highly effective for silicone due to its heat resistance.
- For Bristle Brushes (Natural or Synthetic): Boiling water can damage natural bristles and degrade the adhesive holding them. Instead, dip the brush head for about 30 seconds into 70% isopropyl alcohol. Alternatively, a gentle antibacterial spray specifically formulated for makeup brushes can be used. Always ensure the sanitizing agent is suitable for your specific brush material.
Proper Drying and Storage
After rinsing and sanitizing, gently shake the brush head to remove excess water. Never put your cleansing brush away wet. Place the brush head-down on a clean, dry towel or a specialized drying stand.
This allows air to circulate freely around the brush, ensuring it dries completely from the inside out. Store the brush in a clean, dry location, away from humidity and direct sunlight. Properly storing it helps prevent moisture-related issues and contamination.
Cleaning Different Brush Head Materials: Silicone vs. Bristles
The material of your facial cleansing brush's head significantly impacts its cleaning and sanitization needs. Understanding these differences ensures you’re using the best methods to preserve both the brush and your skin’s health. Silicone brushes are generally more durable and less porous than bristle brushes.
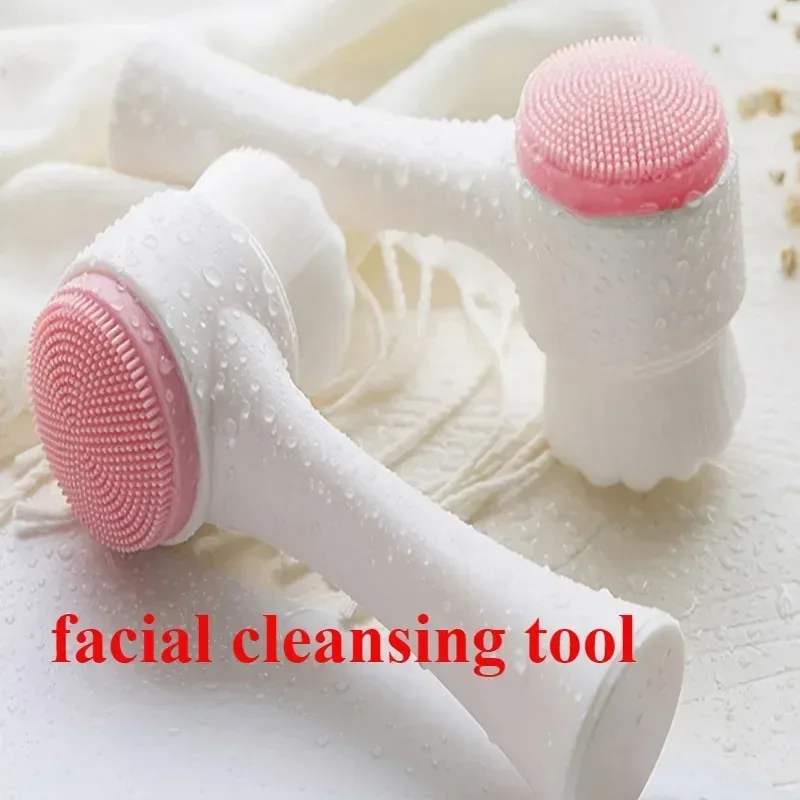
Silicone Brush Heads:
- Pros: Non-porous, making them naturally more hygienic and resistant to bacteria build-up. They are typically very durable and easy to clean.
- Cleaning: Can withstand more vigorous cleaning and are safe for boiling water sanitization. Residue tends to wash off easily.
- Durability: Generally last longer than bristle heads with proper care.
Bristle Brush Heads (Natural or Synthetic):
- Pros: Some users prefer the tactile sensation of bristles for exfoliation.
- Cleaning: Require a gentler approach. They are porous, meaning they can absorb and retain moisture and impurities if not dried properly.
- Durability: The adhesive holding bristles can degrade with prolonged soaking or harsh cleaning. Natural bristles can become splayed or damaged if treated too roughly. Manufacturer guidelines often advise against soaking bristle heads for extended periods.
When cleaning, always consider the specific material of your brush head. Silicone brushes offer more flexibility in cleaning methods, while bristle brushes demand a softer touch to maintain their integrity.
Mistakes to Avoid When Cleaning Your Brush
Even with the best intentions, some common errors can hinder your cleaning efforts and potentially damage your facial cleansing brush or irritate your skin. One of the most frequent mistakes is using harsh chemicals or abrasive cleansers. Products containing alcohol, strong acids, or gritty exfoliants can degrade silicone or damage delicate bristles, shortening the brush’s lifespan.
Stick to gentle, non-abrasive facial cleansers.
Another pitfall is improper drying. Putting a damp brush back into its storage container or drawer traps moisture, creating an ideal environment for mold and bacteria. Always ensure the brush head is completely air-dried, preferably head-down, to allow gravity to help wick away moisture.
Finally, some users fall into the trap of over-scrubbing or being too aggressive with the brush head. While you want to ensure a thorough clean, excessive force can break bristles or damage the silicone, making the brush less effective and potentially causing micro-tears in the skin.
How Often Should You Really Clean Your Facial Cleansing Brush?
The frequency of cleaning your facial cleansing brush depends on how often you use it and what you're using it for. For daily users, a quick rinse under lukewarm water followed by a gentle massage with a mild cleanser should be performed after every single use. This prevents makeup, cleanser residue, and skin cells from drying onto the brush head.
For a more thorough clean and sanitization, aim for at least once a week. This deeper clean is particularly important if you use heavy makeup, rich serums, or if you've been experiencing any skin issues. For silicone brushes, a weekly soak in boiling water for about five minutes is highly effective for sanitization.
For bristle brushes, a wipe-down with isopropyl alcohol or a dedicated brush spray serves as a good weekly sanitizing measure. Consistent cleaning, both daily and weekly, is key to maintaining hygiene and maximizing the benefits of your cleansing tool.
What About Drying and Storage?
Proper drying and storage are just as vital as the cleaning process itself. After you've thoroughly rinsed your brush, gently shake off excess water. Then, it's crucial to let it air dry completely.
The best way to do this is by placing the brush head-down on a clean, dry towel or a specialized drying stand. This allows air to circulate freely around the brush head, ensuring moisture can escape from all angles.
Storing your cleansing brush improperly can undo all your hard work. Avoid keeping it in a steamy shower or a closed, damp container. These environments promote the growth of bacteria and mold.
Instead, store your brush in a clean, dry place, like a drawer or on a shelf. This prevents dust and other contaminants from settling on the bristles or silicone. Proper storage as part of your how can i organize my beauty products routine helps keep the tool hygienic between uses.
Can Expired Cleansers Affect My Brush?
Yes, using expired cleansers or skincare products can indeed affect your facial cleansing brush. Most skincare products, including cleansers, have a shelf life after opening, often indicated by a small open jar icon with a number like "12M" or "24M," signifying 12 or 24 months. Using a cleanser past its expiration date means its active ingredients may have degraded.
This can make it less effective at cleaning your skin and, consequently, your brush.
More importantly, expired products can harbor increased bacterial growth. When you use such a cleanser on your brush, you're essentially introducing a less stable and potentially contaminated substance onto the tool. This can accelerate the build-up of unwanted microbes on the brush head.
It's always a good practice to check the expiration dates on your skincare products. For more on product longevity, can expired beauty products cause problems?
What If My Brush Starts Smelling Off?
An off-putting smell from your facial cleansing brush is a clear indicator that something isn't right. This usually stems from moisture trapped within the brush head or handle, leading to bacterial or fungal growth. If you notice an unpleasant odor, it's a sign that your regular cleaning routine isn't thorough enough, or the brush isn't drying completely.
In this situation, you need to immediately deep clean and thoroughly sanitize the brush. If it’s a silicone brush, a boiling water soak for 5-10 minutes should help. For bristle brushes, a stronger sanitization with isopropyl alcohol is recommended.
After cleaning, ensure it dries completely, ideally in direct sunlight for a few hours if possible, as UV rays can help kill some bacteria. If the smell persists even after rigorous cleaning and drying, it might be time to consider replacing the brush head, especially if it's an older unit.