How Do I Apply Eyeliner for Beginners?
Applying eyeliner might seem like a daunting task when you're just starting out, but with a few key techniques, you can master it. This guide breaks down exactly how to apply eyeliner for beginners, focusing on simple steps and common pitfalls. Our research suggests that understanding the basic tools and a straightforward application process can significantly boost confidence.
When we look at eyeliner application, manufacturer specifications often highlight product formulas and application tips. For instance, many liquid eyeliners are designed with a fine-tip applicator to assist with precision, a critical factor for beginners. We'll cover everything you need to know to get that perfect line, every time, as of 2026.
Quick Answer
Beginners can apply eyeliner by prepping the lid, choosing a stable eyeliner type like pencil, drawing a thin line close to the lash base, and cleaning up any mistakes with a cotton swab. Start with a simple line along the upper lash line before attempting wings or more complex looks. Patience and practice are key to achieving a polished finish.
Why Your Eyeliner Might Be Tricky (And What to Do)
It's easy to feel frustrated when your eyeliner ends up wobbly or uneven, especially when you're just learning. Many beginners find their hands shake, or the product just doesn't glide smoothly, leading to a dotted line instead of a clean stroke. This can make eyes look uneven or smaller than intended.
Our research indicates that the primary challenges for new users often stem from the tools and techniques they employ.
We've found that the type of eyeliner you choose plays a huge role. A stiff, dry pencil can drag on your eyelid, creating a patchy line. On the other hand, a very fluid liquid liner can be hard to control without a steady hand.
Understanding these basic challenges is the first step to overcoming them.
Quick Guide: What You Need to Apply Eyeliner
Before you even pick up an eyeliner, having the right tools makes all the difference. Think of it like painting; you wouldn't try to do a detailed portrait with a house-painting brush. For eyeliner beginners, the focus should be on control and ease of use.
Here's a quick rundown of what you'll likely need:
- Eyeliner: We’ll dive into the types later, but start with something forgiving.
- Mirror: A magnifying mirror can be incredibly helpful for precision.
- Cotton Swabs (Q-tips): These are your best friends for cleaning up mistakes.
- Makeup Remover: For when you need a full reset or to clean up edges.
- Eyelid Primer (Optional but Recommended): This helps create a smooth base and makes your liner last longer.
This initial setup is about setting yourself up for success, not about having a massive makeup collection.
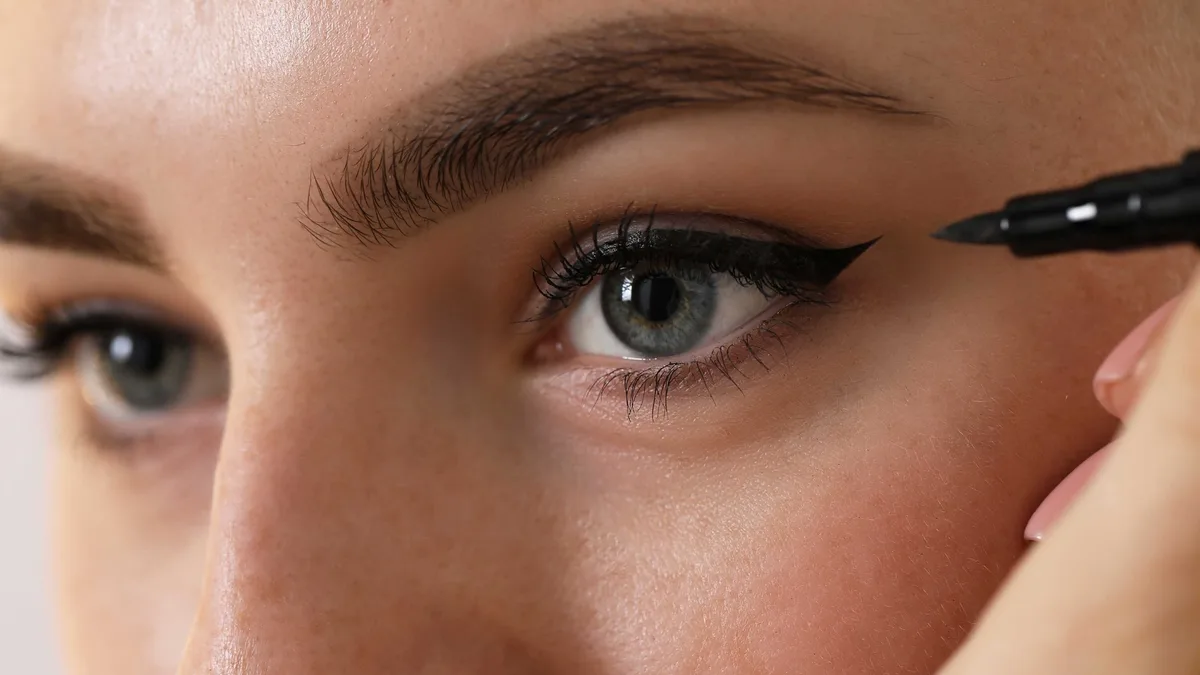
Image source: Bing (Web (fair-use with source credit))
Picking Your First Eyeliner: Pencil, Liquid, or Gel?
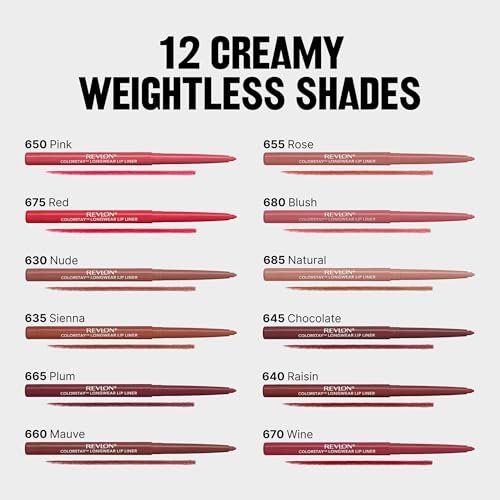
This is where most beginners get a little overwhelmed. There are a few main types of eyeliner, and each has its own personality and best uses. For your first foray into eyeliner, you want something that's going to be forgiving and easy to maneuver.
Here’s a look at the most common types:
- Pencil Eyeliner: These are usually the most beginner-friendly. They offer good control because they're firm and dry. You can smudge them easily for a softer look or use the tip for a more defined line. However, some pencils can be a bit waxy and might not last all day without setting.
- Liquid Eyeliner: These typically come with a brush or a felt-tip applicator. They offer a very precise, sharp line. They're great for dramatic looks and wings, but they require a steadier hand and can be unforgiving if you make a mistake. One disadvantage is that a poor-quality liquid liner can skip or break up as you apply it.
- Gel Eyeliner: This type comes in a small pot with a separate brush. Gel liners offer a balance between pencil and liquid. They are usually very pigmented and smooth, making them easy to apply and blend. They tend to be long-lasting and waterproof, but you need to be comfortable using a separate brush.
For your very first attempt, most experts recommend starting with a kohl pencil eyeliner. They're generally softer, easier to control, and mistakes can be blended away with a finger or a cotton swab before they set.
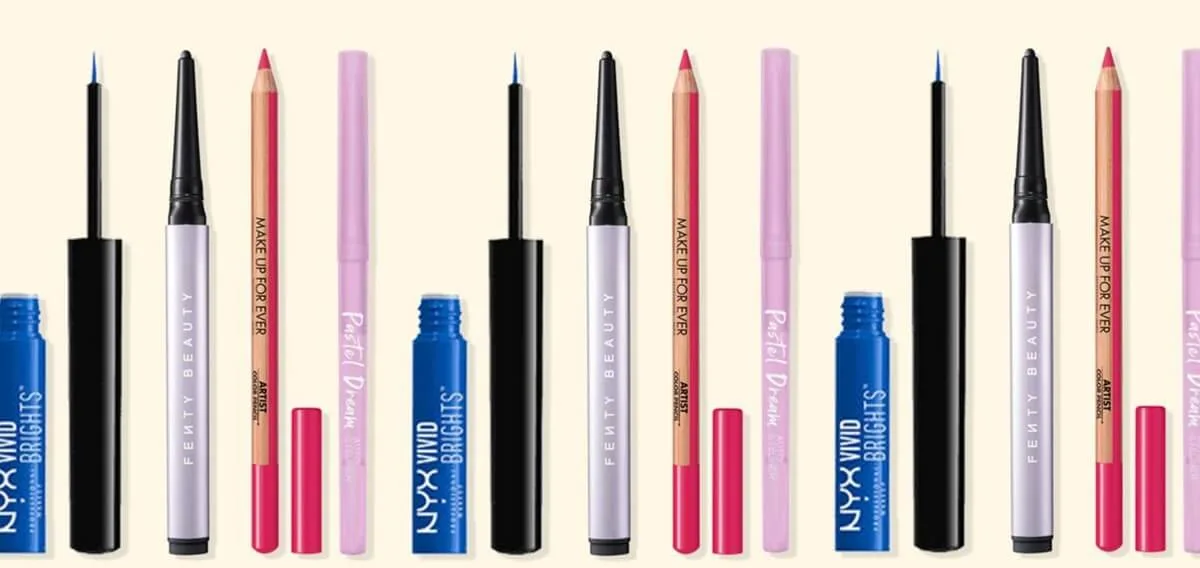
Image source: Bing (Web (fair-use with source credit))
The Visual Step-by-Step: Easy Eyeliner Application
Applying eyeliner is a skill that's best learned visually, and our research confirms that step-by-step guidance with clear visual cues is the most effective for beginners. Think of this as a guided tour, where each step builds on the last. We'll focus on the most basic application: a simple line along your upper lash line.
Getting Your Lid Ready
First things first, make sure your eyelid is clean and dry. If you tend to have oily lids, a thin layer of eyelid primer can create a smooth, matte canvas. This helps prevent your eyeliner from smudging or migrating throughout the day.
Some primers are specifically formulated to grip makeup, ensuring your liner stays put for up to 16 hours.
Drawing Your Line: The Basics
Now, grab your beginner-friendly pencil eyeliner.
- Grip: Hold the pencil comfortably, but with a firm grip.
- Stabilize: Use your non-dominant hand to gently pull your eyelid taut, either upwards at the brow bone or outwards towards your temple. This creates a flatter surface.
- Start Small: Begin drawing a thin line from the outer corner of your eye inwards, stopping about halfway or two-thirds of the way across. Keeping the line thin initially is key.
- Connect the Dots: Then, start from the inner corner and draw a line to meet the first line you made. This method often helps create a smoother, more connected line than trying to draw from inner to outer in one go.
- Get Close: Aim to draw the line as close to your upper lash roots as possible. This makes your lashes appear fuller.
Making It Look Good: Subtle vs. Defined
Once you have that basic line, you can decide how defined you want it to be.
- Subtle: If you want a very natural look, you can stop here. The line should be thin and barely visible, just adding a bit of depth to your lashes.
- Defined: To make the line more noticeable, you can go back over it with your pencil and carefully thicken it, especially towards the outer corner. You can also gently smudge the line with a small brush or your fingertip to soften the edge for a more blended effect. This blurring technique can make the line appear less harsh.
Common Eyeliner Mistakes Beginners Make (And How to Fix Them)
Mistakes are a natural part of learning any new skill, and eyeliner is no exception. Many beginners run into the same few issues that can be easily corrected with a bit of know-how. Recognizing these common pitfalls is half the battle.
Here are some of the most frequent problems and how to tackle them:
- The Wobbly Line: Your hand isn't steady enough.
- Fix: Rest your elbow on a stable surface like a table or vanity. Use your pinky finger to gently rest on your cheekbone for extra stability while you draw. Slow down your movements significantly.
- The "Disconnected" Line: You end up with gaps or a choppy line.
- Fix: Instead of one long stroke, try drawing tiny, short dashes very close together along the lash line. Then, go back and connect these dashes. Another method is to draw from the outer corner inwards, then from the inner corner outwards, meeting in the middle.
- Eyeliner Too Thick: You applied too much pressure or went too bold too soon.
- Fix: Use a cotton swab dipped in a tiny bit of makeup remover or micellar water. Gently run it along the edge of the liner to thin it out or correct the shape. You can also use a clean, dry cotton swab to sharpen the edges.
- Smudged Underneath: You accidentally drew on your lower lash line or smudged the upper line too much.
- Fix: Again, a cotton swab is your best friend. Gently clean up the smudged area. For future applications, ensure your lower lash line is completely dry and consider using a waterproof formula if smudging is a persistent issue.
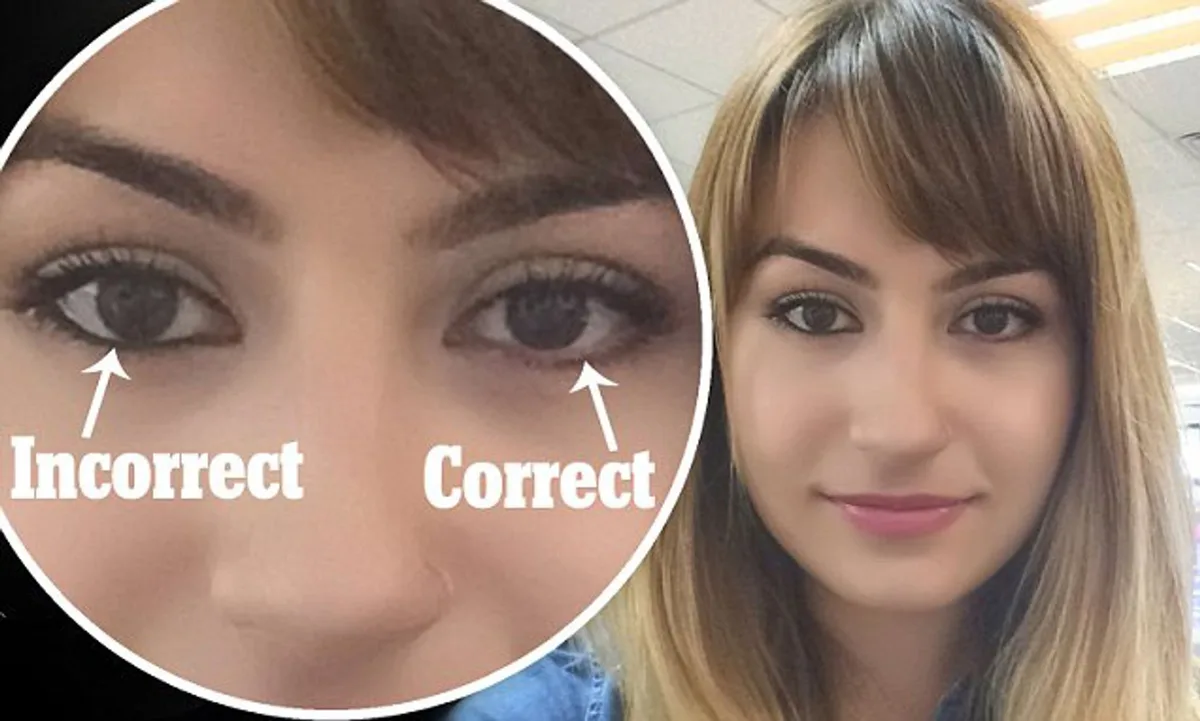
Image source: Bing (Web (fair-use with source credit))
Tightlining: The Subtle Secret to Fuller Lashes
Tightlining is a technique where you apply eyeliner directly into the upper waterline, the tiny space between your upper lashes and your eyelid. It's a subtle yet incredibly effective way to make your lashes appear much fuller and your lash line more defined without looking like you're wearing a lot of makeup. This method is particularly great for beginners because it's less about drawing a perfect line and more about filling in small gaps.
- How it works: By coloring in the roots of your upper lashes, you create the illusion of a denser lash line. It can also make your eyes appear more open and awake.
- What you need: For tightlining, a soft, waterproof pencil eyeliner is ideal. A gel liner with a fine brush can also work, but pencils are generally more forgiving for beginners.
- The technique:
- Gently lift your upper eyelid with your non-dominant hand.
- Carefully trace along the underside of your upper lashes with your pencil.
- Don't press too hard, and only go as far as feels comfortable.
- If you’re using a liquid or gel liner, this is more advanced, as it requires a very precise application and can be irritating if not done perfectly.
This technique is a fantastic addition to your makeup routine once you've mastered the basic lash line application. It’s a subtle change that makes a big impact, and it’s less intimidating than winged liner.
Removing Eyeliner Like a Pro
So, you've successfully applied your eyeliner, but now it's time to take it all off. Proper makeup removal is crucial for skin health and preventing irritation. You don't want leftover eyeliner pigments to irritate your eyes or clog pores around your lash line overnight.
Here's how to do it effectively:
- Use a dedicated makeup remover: Look for an oil-based remover or a micellar water specifically designed for eye makeup. These are formulated to break down pigments without harsh scrubbing.
- Gentle approach: Soak a cotton pad with the remover. Hold it over your closed eyelid for about 10-15 seconds to allow the product to dissolve the eyeliner.
- Wipe, don't rub: Gently swipe the cotton pad downwards and outwards, following the direction of your lashes. Repeat with a fresh pad until all traces of eyeliner are gone.
- Follow up: After removing all eye makeup, wash your face with your regular cleanser to remove any remaining residue from the rest of your makeup and to ensure a clean slate for your skincare routine.
This simple process helps protect your delicate eye area and keeps your skin clear.
Your Eyeliner Q&A
How long does eyeliner typically take to dry?
Drying times vary by product type. Pencil eyeliners don't really "dry" but set into place. Liquid eyeliners usually set within 15-30 seconds, though some waterproof formulas might take up to a minute.
Gel eyeliners, when applied with a brush, typically set within 30-60 seconds.
Can I use regular makeup remover for waterproof eyeliner?
While some makeup removers can handle light waterproof formulas, it’s best to use an oil-based remover or a specific waterproof makeup remover. These are more effective at breaking down the strong pigments and polymers in waterproof eyeliners without requiring excessive rubbing.
What if I get eyeliner in my eye?
If you accidentally get eyeliner in your eye, stop applying immediately. Rinse your eye gently with clean water or a sterile eyewash solution. If irritation persists, or if you experience redness or pain, it's best to consult a healthcare professional.
Avoid rubbing your eye.
How often should I replace my eyeliner?
For hygiene reasons, pencil eyeliners should be sharpened regularly and replaced every 6-12 months. Liquid and gel eyeliners, especially those with a brush applicator, should be replaced every 3-6 months because bacteria can accumulate over time. Always discard any product that changes texture, smell, or color.
My eyeliner always smudges. What’s the fix?
Persistent smudging often comes down to product choice or preparation. Ensure your eyelids are clean and primed. Using a long-wearing or waterproof formula can help significantly.
If you're experiencing smudging on the lower lash line, try a smudge-proof pencil or consider skipping liner there altogether.
What Eyeliner is Right for You?
Choosing the best eyeliner depends on your desired look, your skill level, and your eyelid type. As a beginner, you'll want to prioritize ease of use and forgiveness for mistakes. Our research into different eyeliner formulas shows that versatility is key when you're just starting out.
- For the true beginner: A soft, dark pencil eyeliner is your best bet. It allows for a forgiving application and can be easily blended if you make a mistake. Look for phrases like "kohl" or "smudge-proof" on the packaging if you want it to last longer.
- For a precise, subtle line: Once you're comfortable with pencils, you might try a gel eyeliner with a fine-tipped brush. This offers more control than a liquid liner and a smoother application than some pencils, creating a defined but not overpowering line. This is also excellent for tighter lines along the base of the lashes.
- For dramatic looks and wings: Liquid eyeliners are the go-to for sharp, bold lines and intricate wings. However, they require a very steady hand and practice. If you're aiming for this look, start with a felt-tip liquid liner, as they can be easier to grip and control than brush-tip ones.
Ultimately, experiment with different types as you gain confidence. Many brands offer affordable options that allow you to try a few formulas without a significant investment.
Final Recommendation
Mastering eyeliner application is a journey, not a race. Start with the simplest techniques and the most forgiving tools. Practice regularly, don't be afraid to clean up mistakes with a cotton swab, and you'll quickly see improvement.
Remember, the goal is to enhance your eyes in a way that makes you feel confident. As you become more skilled, you can explore different liner types and more complex styles.